
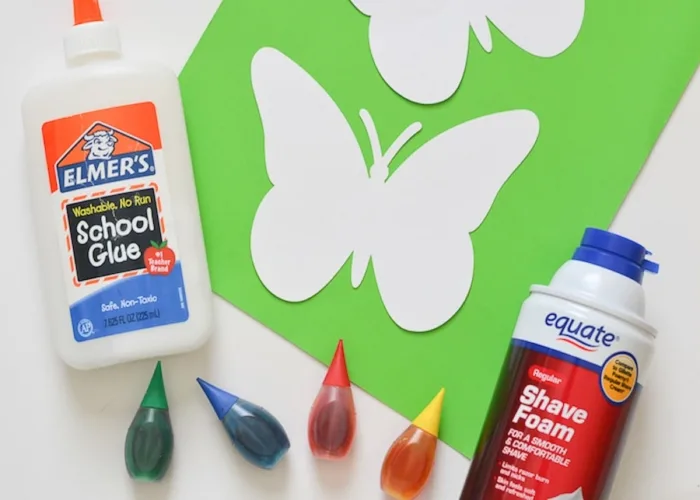
Grab a few basic supplies to make this fun homemade puffy paint with the kids!

Every time I hear the words puffy paint, I’m transported back to the early 90’s full of neon colors, layered socks with LA Gears, and side pony tails. I had quite a few shirts in my closet which I had spent the afternoon meticulously decorating with puffy paint, usually for a class project or as part of a Brownies activity.
While this homemade puffy paint is not for decorating clothes, it’s still super fun to make and use for art projects! Plus, you still get that cool puffy look when it’s finished drying. And the best part is that it requires only a few supplies that you most likely have at home.
How to Make Homemade Puffy Paint
Supplies
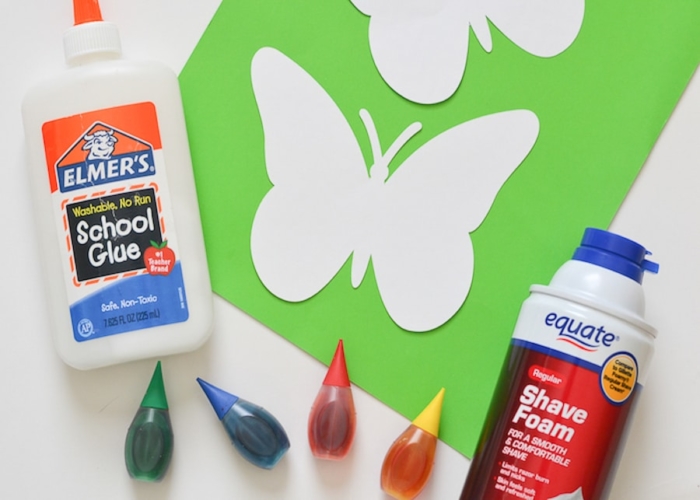
- card stock or construction paper
- shaving cream
- white glue
- food coloring
- ziplock baggies
- 1/4 measuring cup
- scissors
- markers, shape templates (optional)
Directions
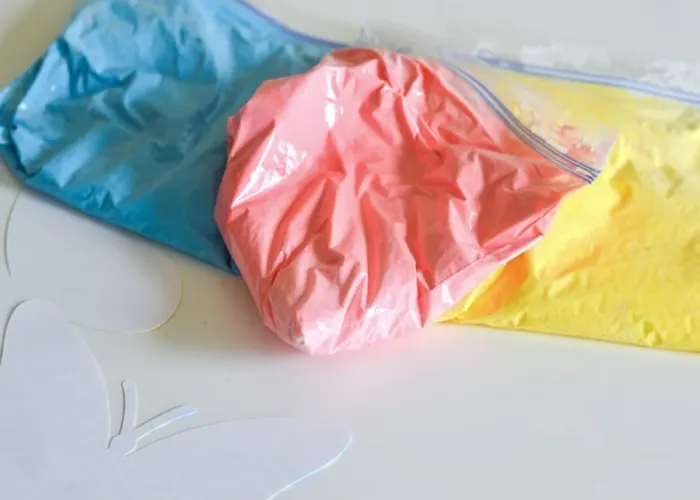
Put 1/4 cup of glue and 1/4 cup of shaving cream in a ziplock bag.
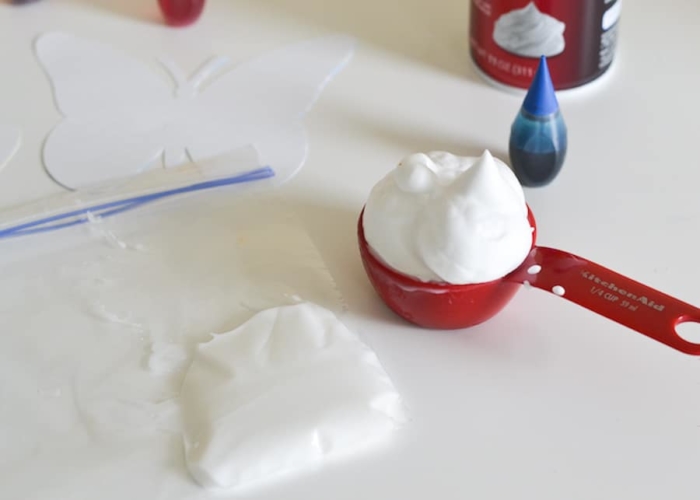
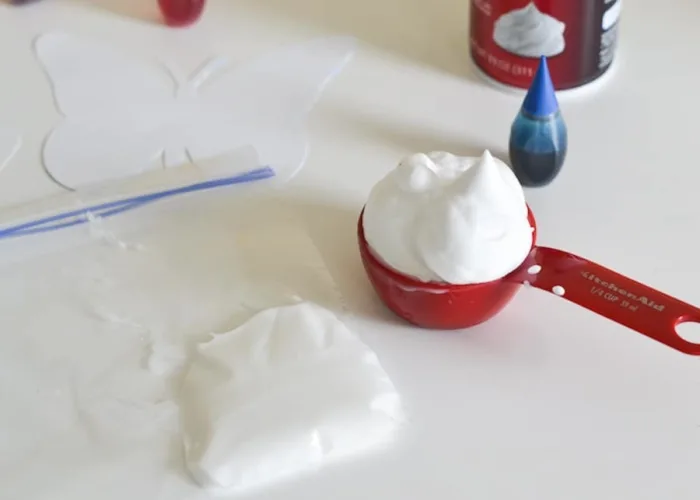
Add about 10-15 drops of food coloring to the mixture and seal the baggie , getting out as much air as possible while zipping it closed.
Have the kids squeeze and squish everything together in the baggie, mixing all of the ingredients well.

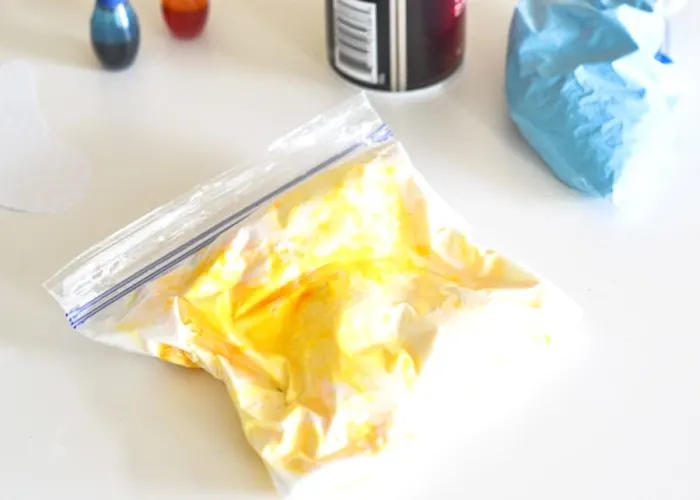
Repeat the steps to create a variety of colors to paint with! Have the kids experiment with the colors – adding more or less drops to create pastel colors or bolder shades, mixing two colors to create purple, orange, or green. There are so many options!

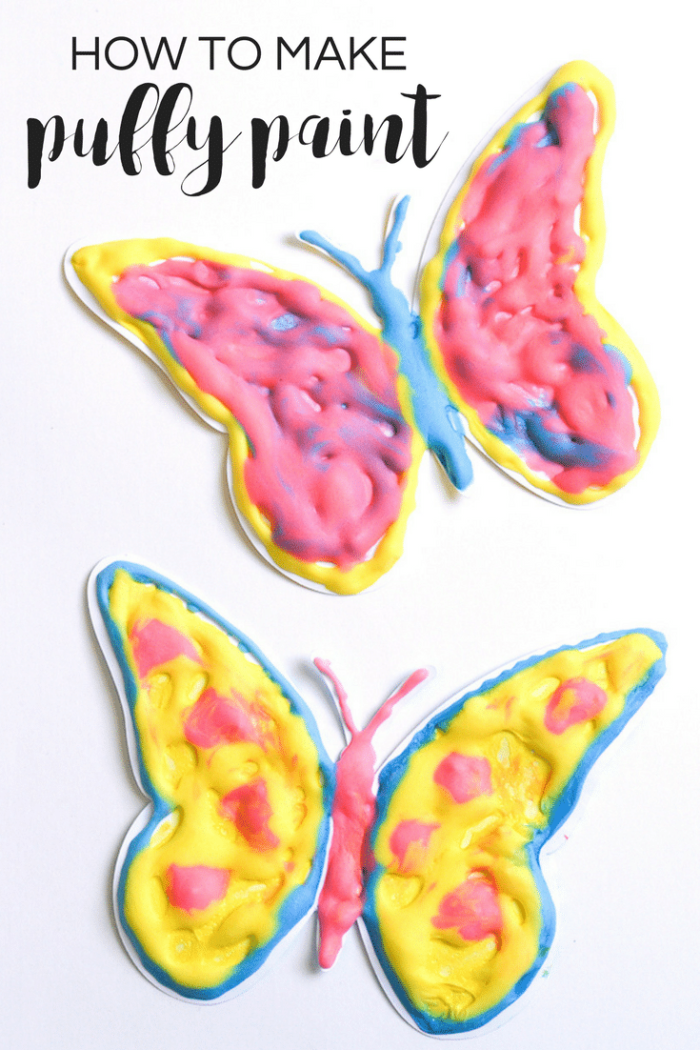
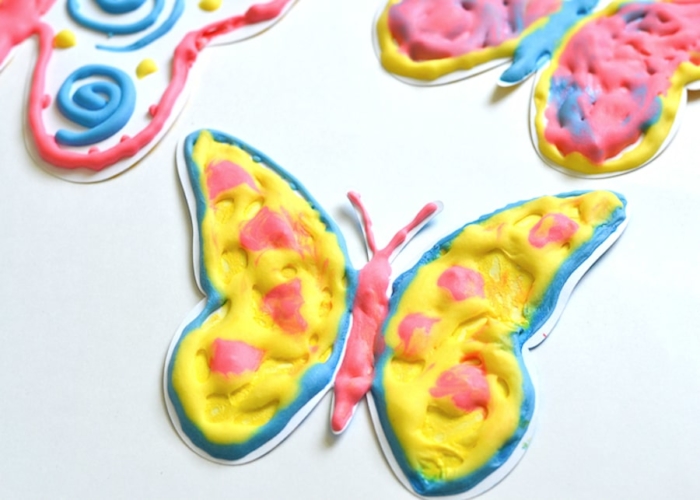
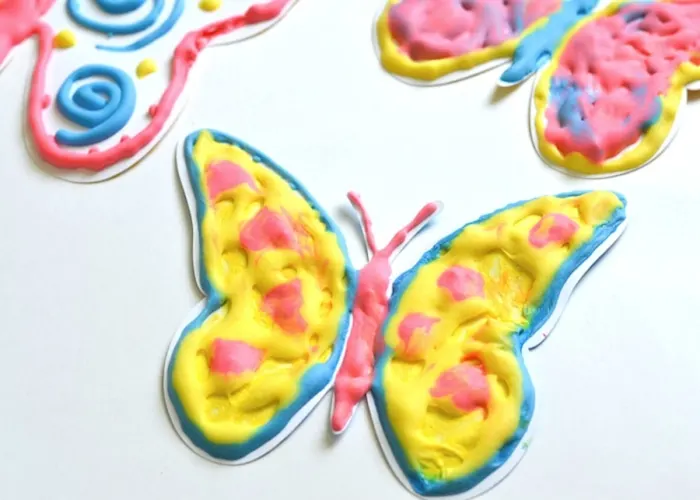
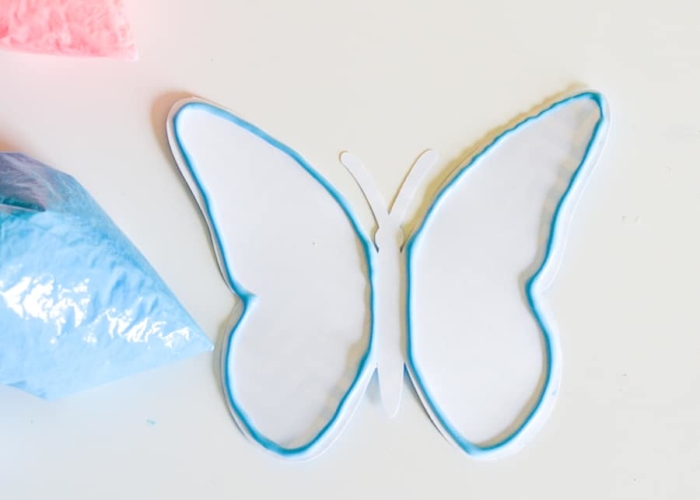
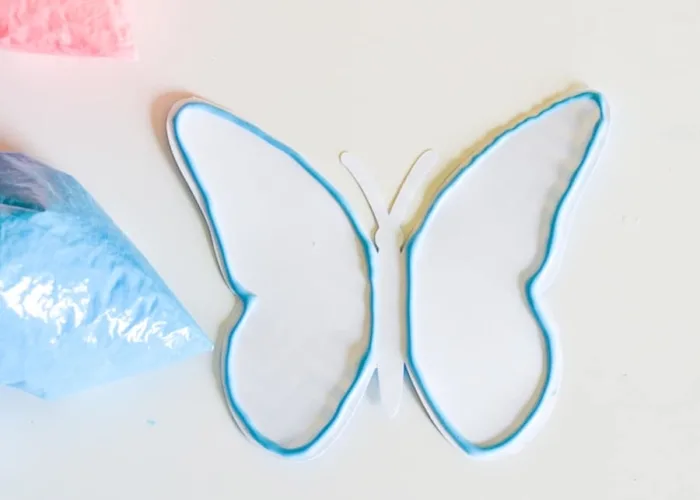
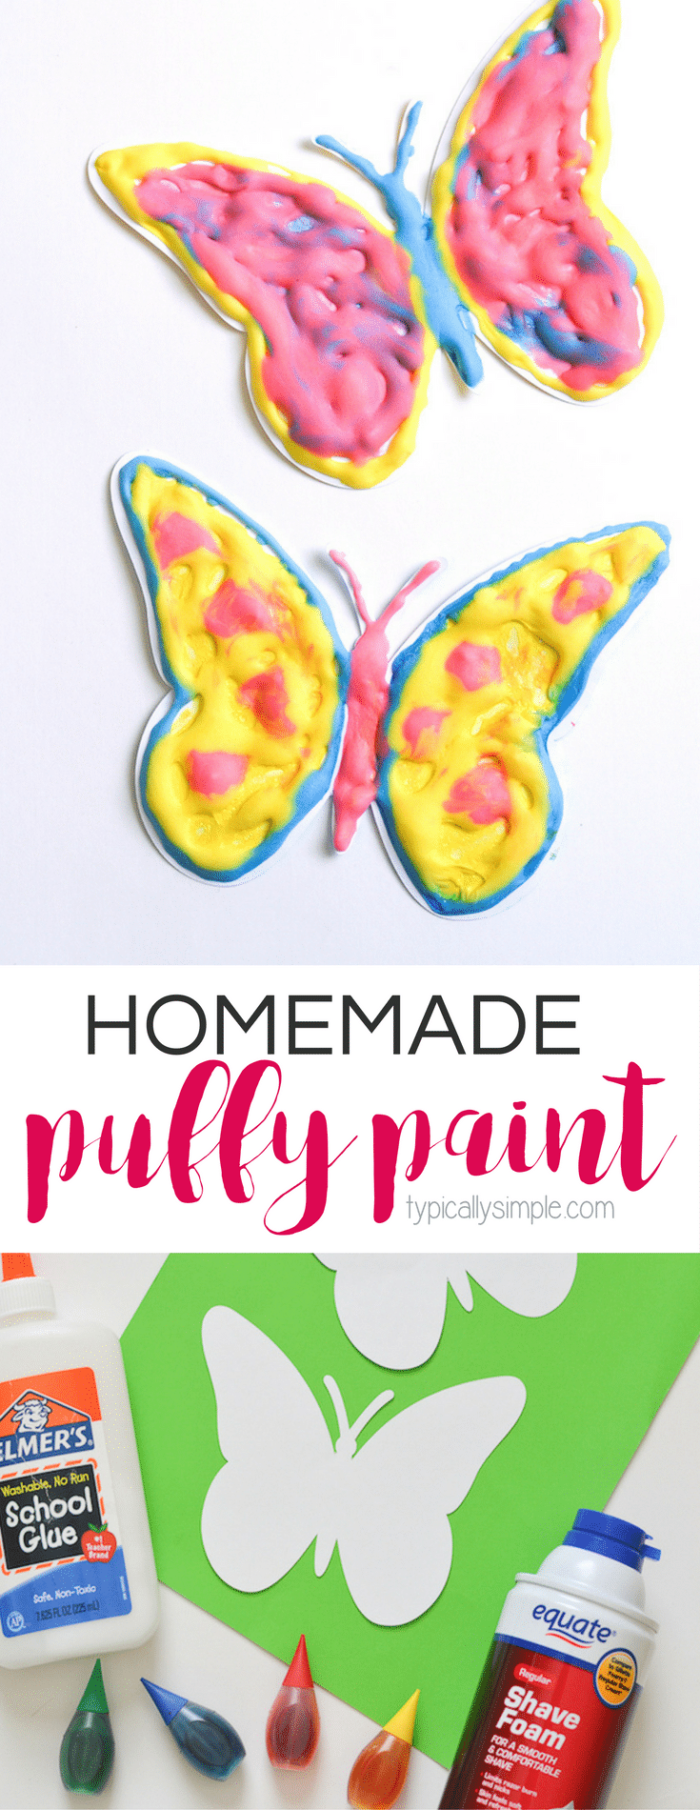
For this project, I decided to go with a spring theme and paint some butterflies. You could have the kids trace and cut out shapes or letters, or just give them some paper to let them free paint. This puffy paint looks especially cool on black paper! It really pops!
To prepare the baggie for painting, squish all of the paint to one corner of the bag and snip off a little piece of the bag. The bigger the hole, the more puffy paint that will come out, so definitely start with a smaller hole and cut off more as needed. Otherwise you might end up with too much paint on the art project.
Then start painting by squeezing the bag…similar to using an icing bag to frost a cake! The kids could also squeeze a bunch of paint out and use a paint brush to spread it around.

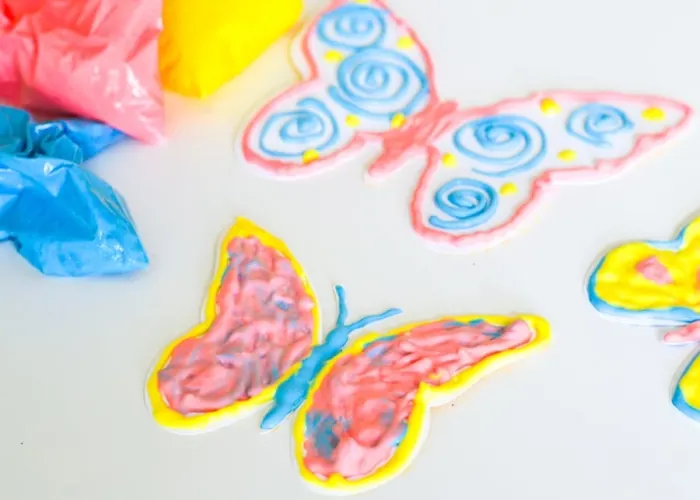
Let the projects dry for a few hours before handling, although it is definitely tempting to poke at the puffy paint while it’s drying…the texture is just too fun! As the puffy paint dries, the colors will start to become more vibrant, too.

Here are a few more kids’ craft projects you might like!

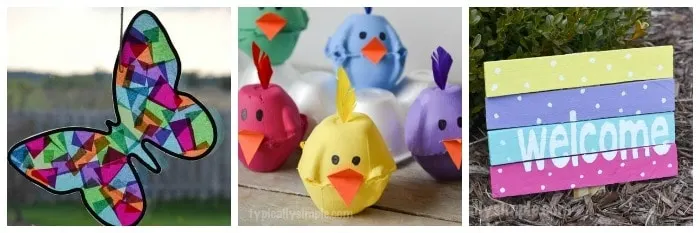
stained glass butterfly | egg carton chicks | wood shim garden sign