DIY Project - Wood Easter Eggs
 In my continued effort to add some more holiday decorations to our home, I made these cute, little wood Easter eggs!
Now If I had cut these myself with the saw, there would definitely not be a blog post about it because I would have either 1. cut my finger and be heading to the ER or 2. end up with eggs that look more like amoebas.
Luckily I have a dad who is pretty handy - so he cut them out of some scrap pieces of wood he had in his garage.
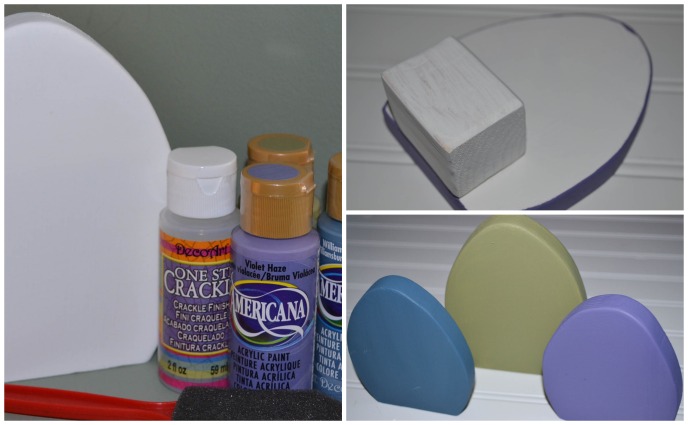
I wanted flat bottoms for the eggs so that I could sit them on the side table; I printed an outline of an egg and just cut the bottom off. Using a 1x8 piece of wood, my dad cut out two 5 inch eggs and one 6 inch eggs.
Since the eggs wouldn't sit very well on their own, he attached a little piece of 2x2 to the back so they would stand up on the table. He also added a coat of primer before I took them home to decorate; then I added a few coats of paint to have as my base colors.
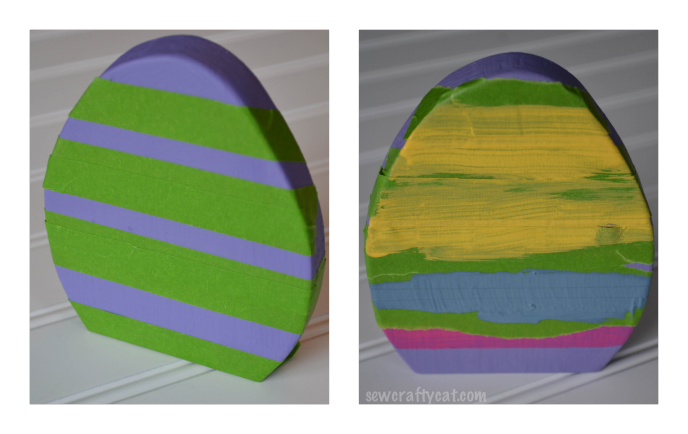 Using some painters tape, I started adding stripes to the eggs. Since I was using small amounts of acrylic craft paint, it dried quickly and I was able to finish the painting part of this project in just a few hours!
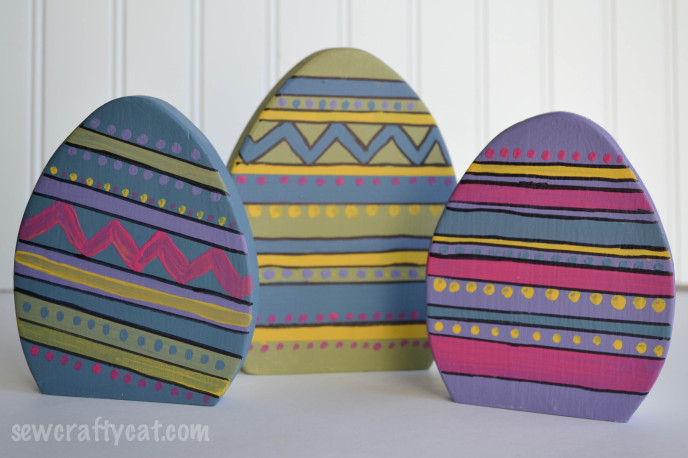
After adding some stripes, I used a small paintbrush to add some dots and zig zags. Even though each egg has different designs, I used the same four colors on each one since I wanted to sit them together on the table.
I decided the paint alone didn't make the eggs look the way I wanted them too - so I took a black sharpie and added a border to the stripes and zig zag to make them pop a little more.
I'm thinking that this would be a fun project for kids to make each Easter! (well the painting part only...) How fun would it be to have them paint a new egg each year?
Thanks so much to DecoArt for sending me the paint for this project!