Measurement and Graphing Activity
This fun STEM activity is a great way to introduce measurement to younger kids. Use engineering skills to build a PowerClix® Racer and math skills to measure and graph the distance the car rolls across the floor.
This post is sponsored by Guidecraft. All content and opinions are my own.
One thing I always loved about teaching was being able to use a child's interests to get them excited about learning. It's something I still enjoy doing when we learn at home and I know anything that has wheels, tracks, or wings will always be a huge hit to incorporate into learning activities.
Most of my day is spent answering why, how, and what if questions from my future engineer; so we started doing more STEAM activities to embrace the love of learning and figuring things out.
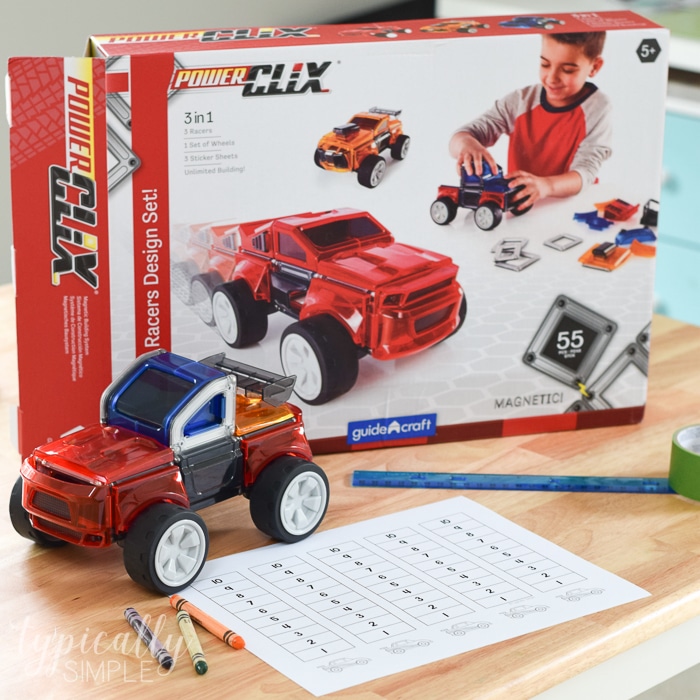
A new favorite in our house are the PowerClix® Racers from Guidecraft. Using magnetic parts that snap together, the little guy loves customizing his race with different colors and styles. And I love that there are little cross pieces that hold the magnets together which allows him to play with the racers without it falling apart.
Measurement - STEM Activity
After putting together a few different styles of racers, I decided to take this a step further and introduce measurement and graphing. These racers can roll pretty far, even on carpet, so I used this as an opportunity to work on understanding the length of a foot and using a ruler.
Supplies Needed
- Guidecraft PowerClix® Racers Set
- ruler
- painters tape
- markers or crayons
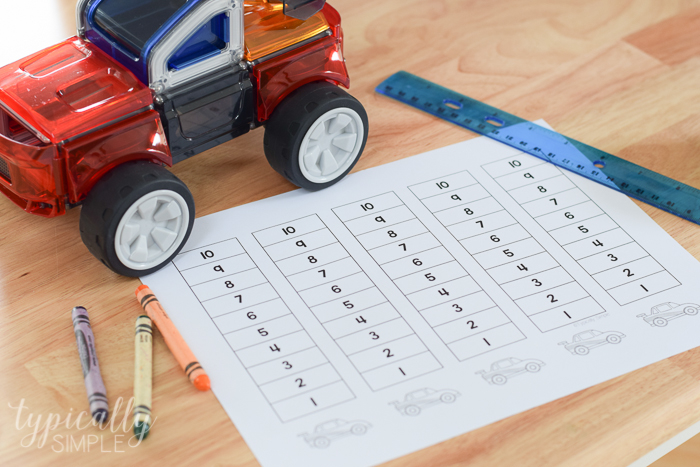
- graphing sheet (grab your copy at the bottom of the post)
 Measurement Activity - Getting Started
First, we talked about how long a foot was and when we would use that measurement around the house or outside. Then we used painters tape to mark a starting line on the floor.
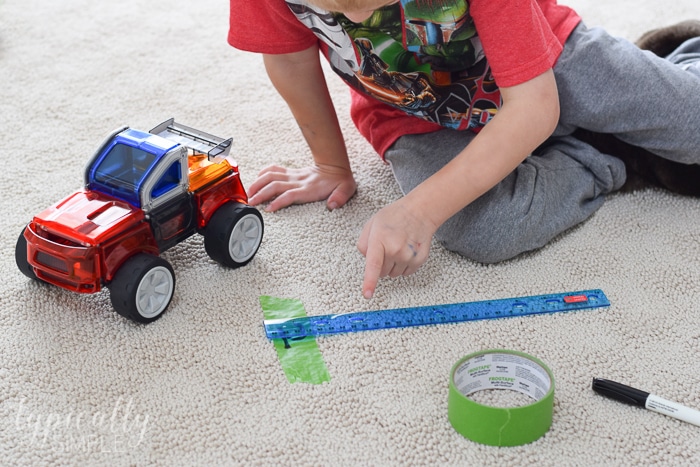
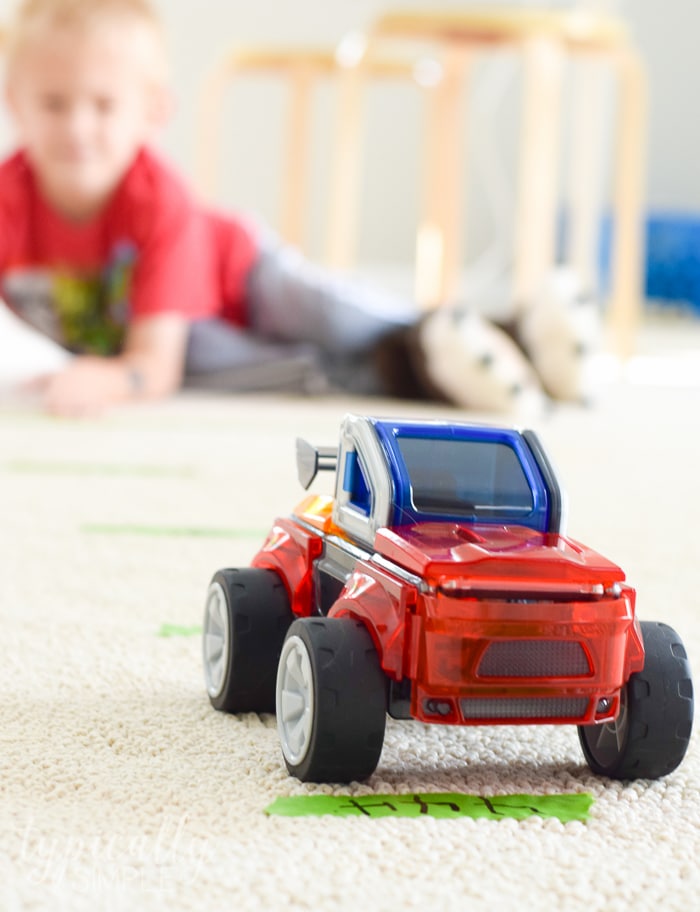
Using the ruler, we measured one foot increments across the room then marked it with a piece of tape and labeled it with the number of feet we were at. We took our racer to the starting line and gave it a push to see how far it would go.
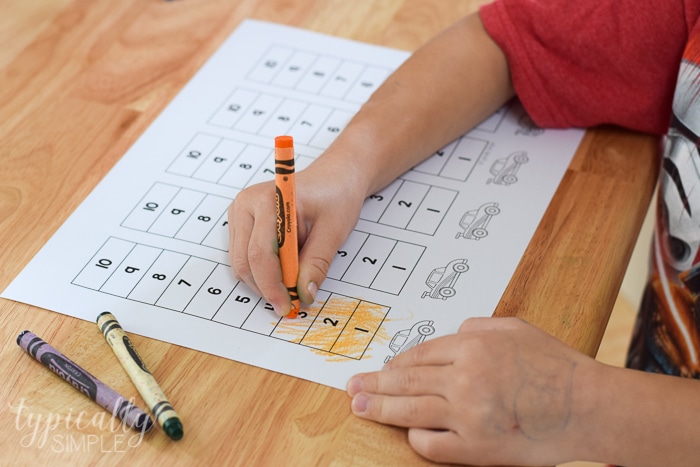
The first few pushes only went a few feet, so we talked about using more force to make it go farther. After each push, the little guy would color in his graph to show how many feet the racer went across the floor.
This would also be a great activity for using non-standard units of measurement or pushing the car, then measuring how far it went using a tape measure. Plus there are so many talking points, including a basic introduction to force and friction.

The PowerClix® Racers have been a great addition to our playroom. I love how they encourage creativity with the different colors and parts, as well as following step-by-step directions when using the guide to build them. And they are so much fun to use in our hands-on learning activities!