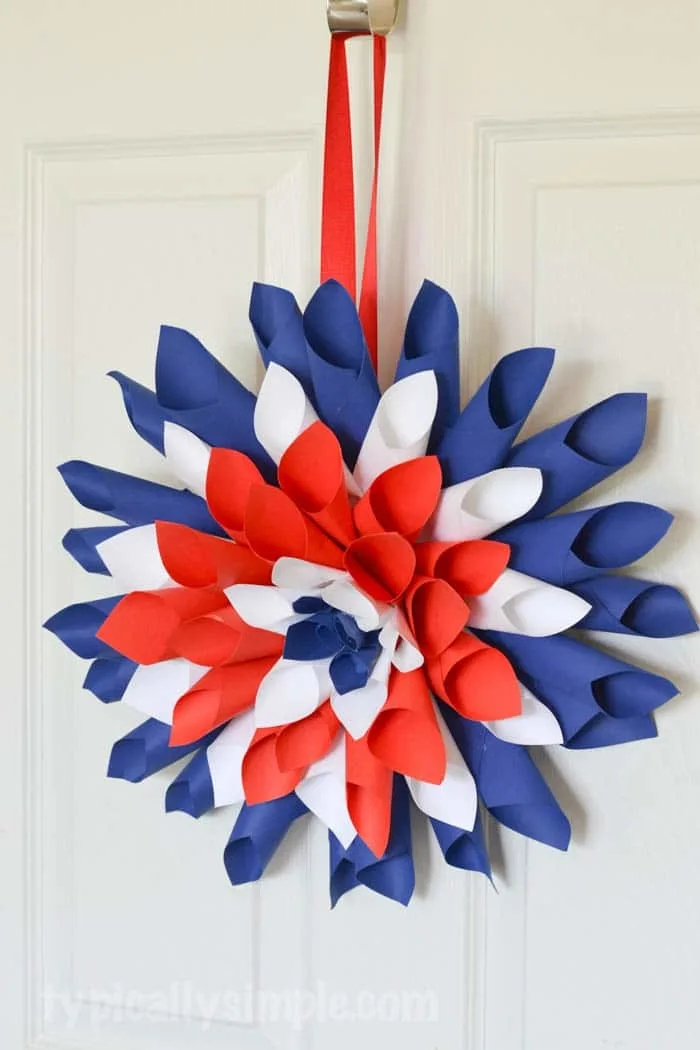
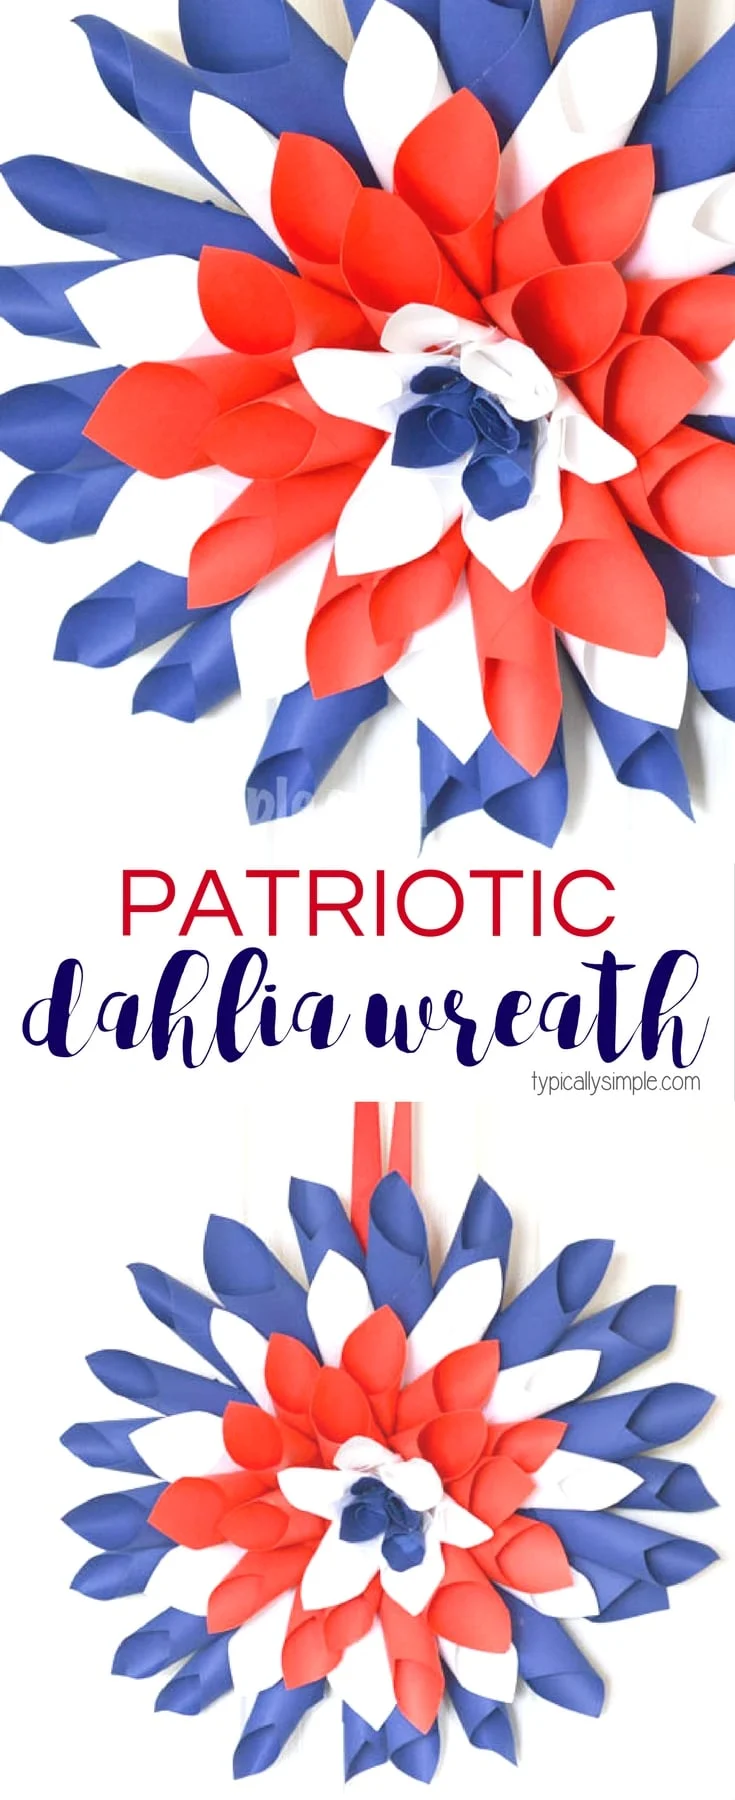
This red, white, and blue paper Dahlia wreath is a simple one-hour craft that is a fun decoration to hang in your home for Independence Day.
It is so hard to believe that the 4th of July is just a few days away. Our summer is flying by and with vacations still on the horizon, our weekends are packed full of summer fun.
Crafting always seems to take a backseat in the summer since we are busy playing outside enjoying the fresh air and sunshine. But I’ve been trying to get in a project here or there, especially if it’s something to decorate the house with – like the cupcake liner wreath I made in the spring.
Our basement door is right in the middle of our kitchen and family room, so I like to decorate it with fun, seasonal wreaths. And I’ve been wanting to try to make one of these paper Dahlia wreaths for awhile, so I thought it would be fun to make a red, white, and blue one for the 4th of July! The best part – I completed it during nap time with some time to spare!

Supplies
red, white, blue card stock
cardboard or chipboard
hot glue gun and lots of glue sticks
ribbon
scissors or paper cutter
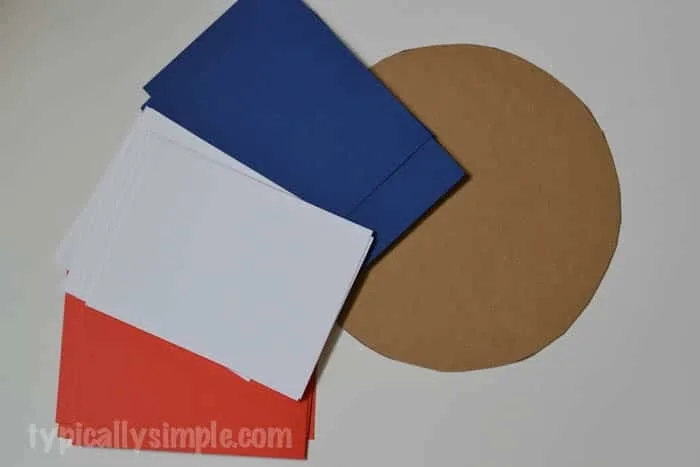
A few tutorials I read suggested cutting the card stock into different sized squares to make the cones. I didn’t have the time to do that and I wanted this to be a quick craft, so I cut my 8.5 x 11 inch card stock into fourths. Super quick, super easy, and still makes a statement.
I used 6 pieces of blue, 4 pieces of white, and 4 pieces of red paper. Depending on which color you want to be on the outside, or if you want one color to look fuller, you can use more or less of each.
Using a plate, I traced a circle onto a piece of chipboard and cut it out. Then I started rolling up my pieces of card stock to make the petals.
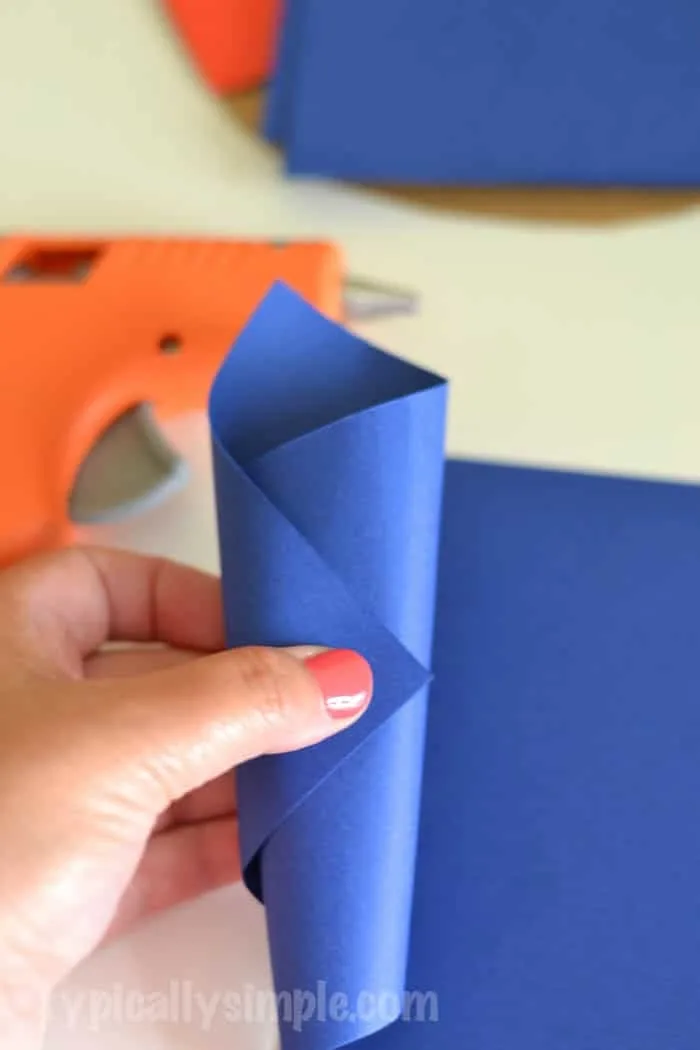
It took me a few tries to get the hang of it, and again, depending on how you want your wreath to look, you might try different ways of rolling the paper. Once you have the paper rolled the way you want, add some hot glue to secure it.
After rolling all of the card stock pieces into petals, I started gluing on the blue pieces to the chipboard. I attached one row, then went back and filled in some of the gaps between petals to give it a fuller look.
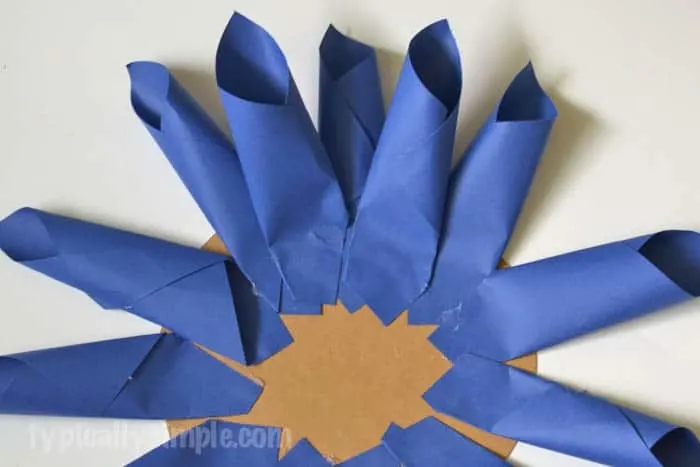
Then I started add the white pieces. This is where the different sizes of squares would be needed, but I was able to achieve the same result by trimming off a few inches at the bottom of each roll before gluing it onto the chipboard.
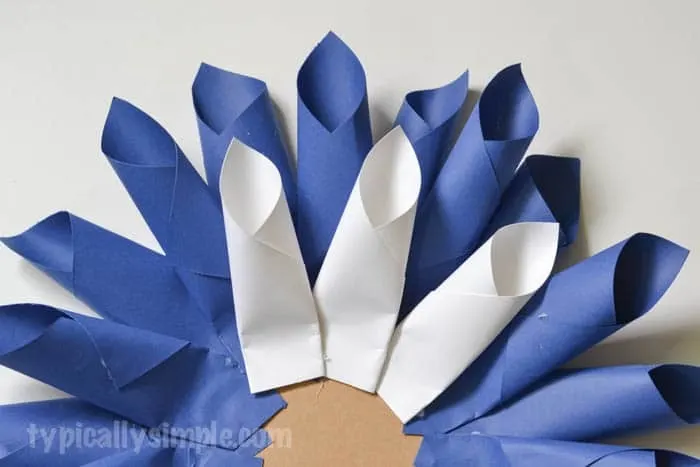
I continued this process working towards the middle of the wreath. Adding the last few needed some creativity and trimming, but with my handy hot glue gun, I was able to make it work. I ended up rolling some smaller pieces of blue card stock to finish the wreath.
And finally, I attached some ribbon to the back of the wreath to use as the hanger.
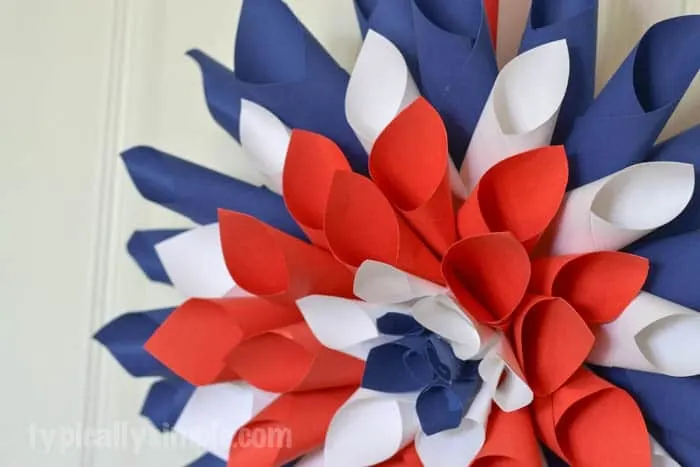
All in all, it took me about an hour to make. I loved that it’s a craft I could work on from start to finish during nap time.
With all the different colors of card stock available, this could be made for any holiday…a bunch of these would look great as birthday decorations, too!
