
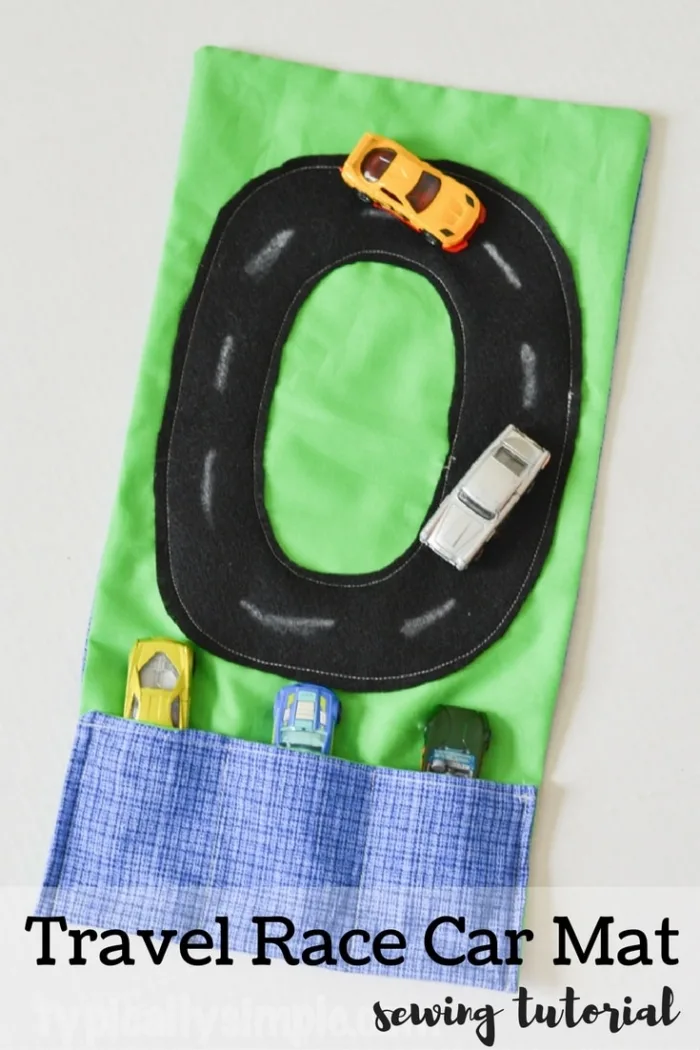
If you have a car-loving tot, this simple sewing tutorial is for you! Create a to-go race car mat in about 30 minutes that will (hopefully) keep that toddler busy playing while you finally get to cook that homemade dinner!

Heading back to school means back to being busy. Whether it’s practices and games for school sports, doctor appointments, or fun family events at school, it can seem like there is no time to sit down and relax.
You are trying to help with homework, pack lunches, and everything else that goes along with a back-to-school routine. Plus cook a dinner that is something everyone in the family will eat.
With busy toddlers comes a little bit of mischief and I have definitely learned the importance of having lots of distractions in my bag of tricks for when we head out to appointments, school functions, or even while just trying to make dinner.

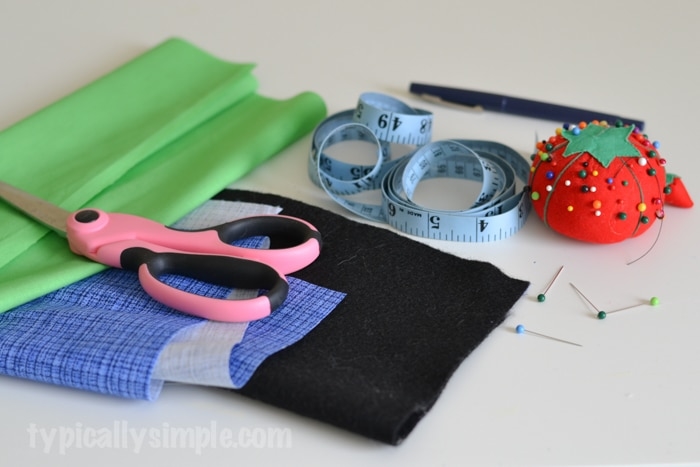
Supplies
2 pieces of fabric – 10×22 inches
1 piece of black felt
sewing machine & tread
scissors
tape measure
quilt pen
pins
iron

Directions
After cutting the two pieces of fabric to size (10×22 inches), pin them right sides together.
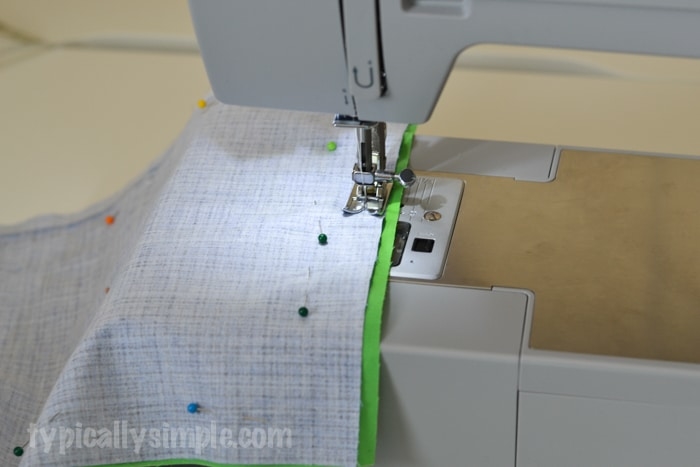
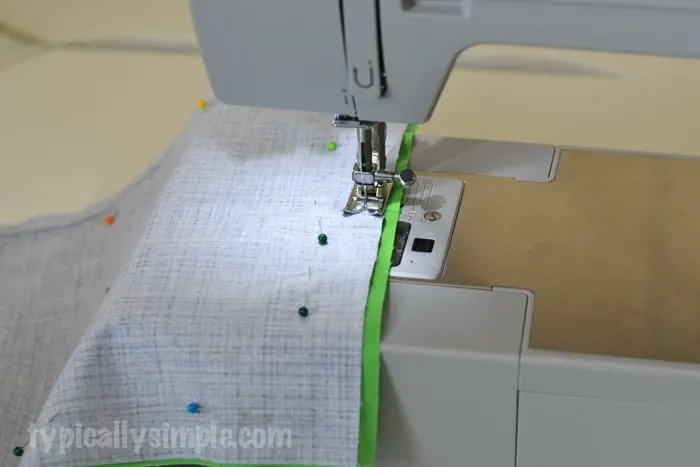
Start stitching around all the edges with a 1/2 inch seam. Stop about 3-4 inches before your starting point to create an opening which will allow you to turn the fabric right side out.

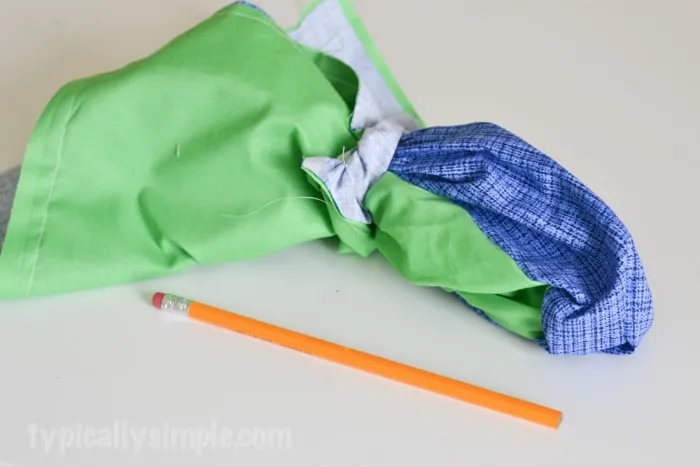
Pull the fabric right side out through the opening. Using a pencil, poke all of the corners out so the fabric lays flat. Iron the fabric to flatten the seams and topstitch around the whole project making sure to secure the opening used for turning.

Fold up the longer side about 3.5 inches – this will create the car pocket. Sew each short end with a 1/2 inch seam.

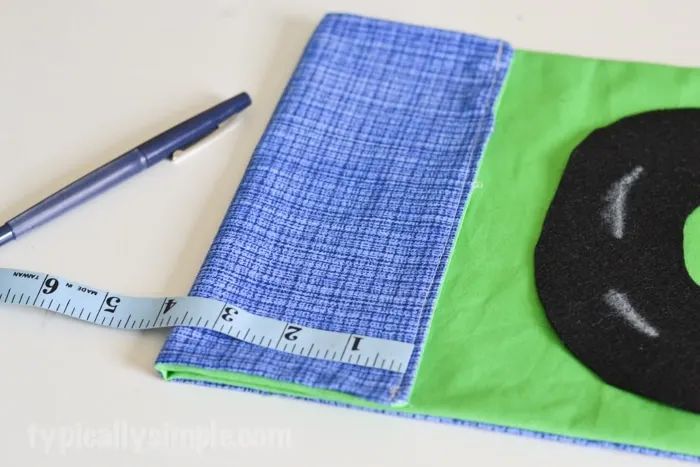
Once the pocket is created, it’s time to add some individual pockets for the cars. Using a tape measure and quilt pen, start at the seam and mark off every 3 inches. Stitch a line from the top of the pocket to the fold at each mark to create three pockets.
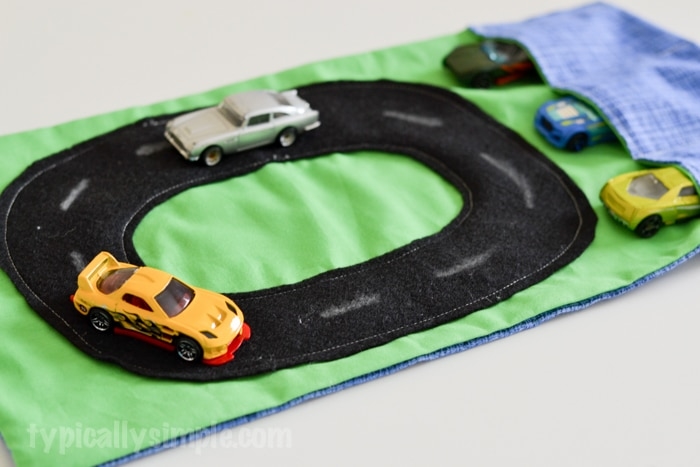
Now it’s time to create the racetrack…because every little car racer needs a place to vroom and zoom!
Cut out a large oval from the black felt. Cut a smaller oval out from the middle to create the racing track. Add white or yellow dashed lines with a paint pen if you want to get a little extra fancy!
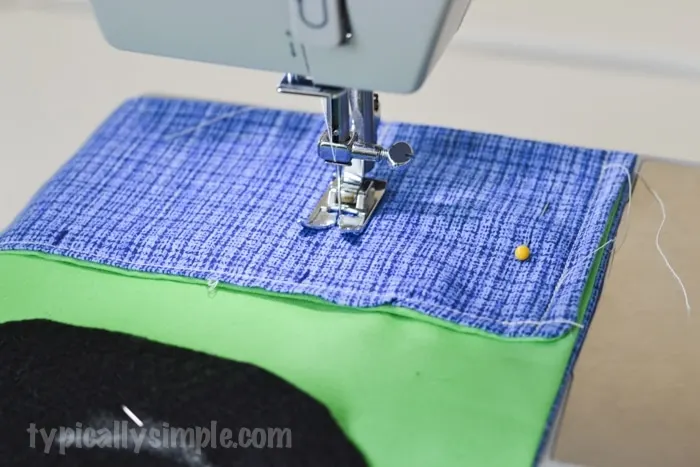
Place onto the large open space of the car mat and sew all the way around on both the inside and outside of the track to secure it to the mat.
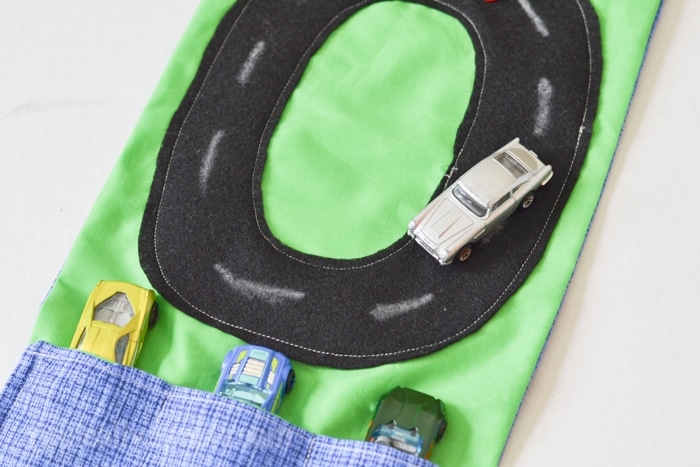
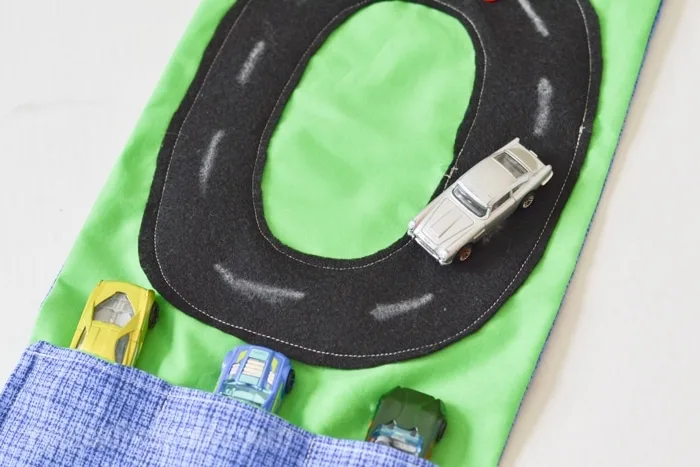
Fill it with your toddler’s favorite cars, fold or roll it up for a fun to-go activity that will keep them busy at appointments, in the car, or even at their older siblings’ sporting events.
What are your favorite activities for keeping your toddler busy while getting the family back into school routines?