This shop has been compensated by Collective Bias, Inc. and its advertiser, MARS Incorporated. All opinions are mine alone. #PAWsomeGifts #ClausAndPaws #CollectiveBias
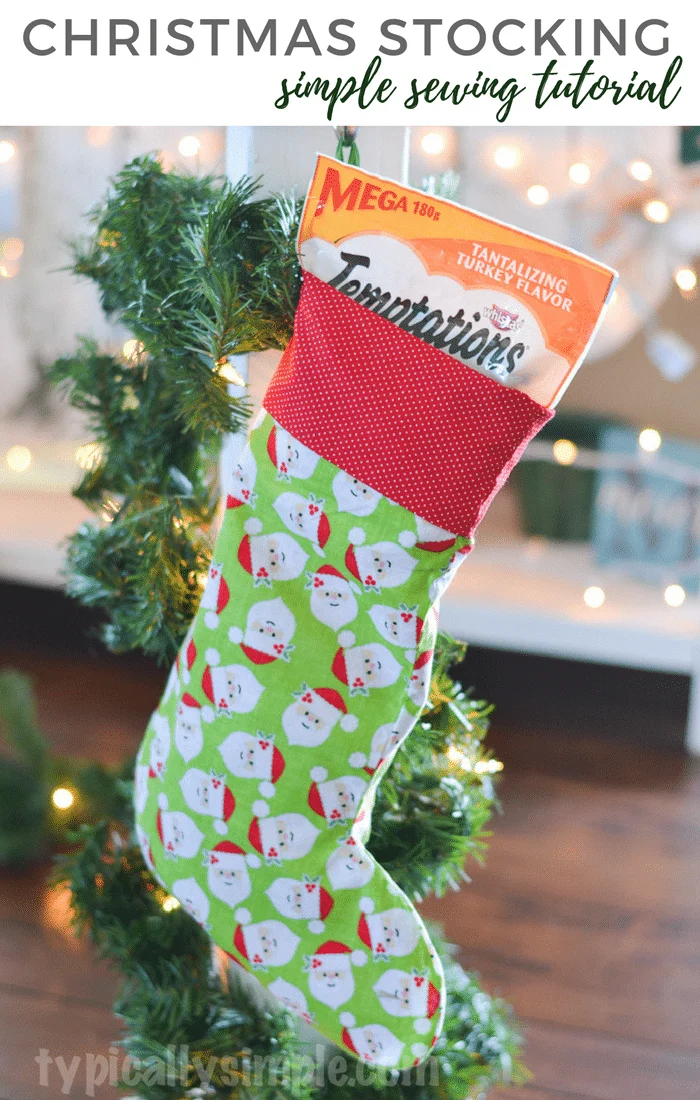
Create a festive Christmas stocking for your family, or favorite furry friends, using this simple sewing tutorial.
When it comes to our cats, we have both naughty and nice in our house. Loucy is truly the epitome of a cat – eats, sleeps all day, begs for a few treats, and cuddles on the couch at night. Skinny Cat on the other hand, well she causes a lot of problems. And let’s just say her name makes everyone laugh because she is now about 18 pounds.
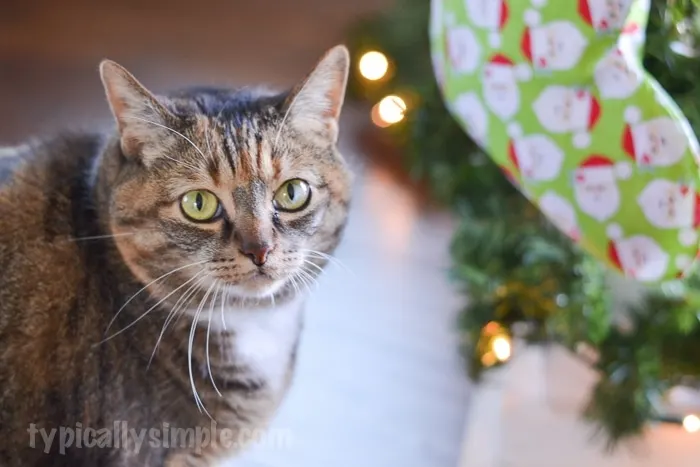
Plus she will “eat”anything and everything…including Christmas presents! After waking up one morning to almost all of our presents for family members torn open, we now have to hide them in a closet until Christmas parties.
And don’t even get me started on curling ribbon! Our presents are the most plain presents ever because she will eat the ribbon right off the gifts! We can’t even keep it in the house anymore because I think she has a sixth sense that she uses to smell it & find it, even if it’s locked away in a closet.
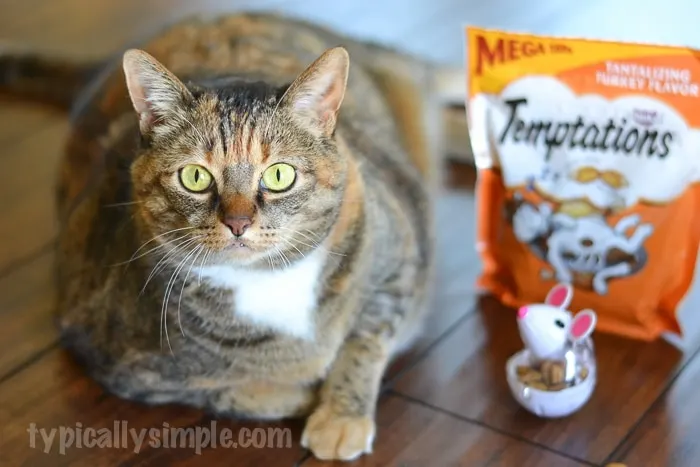
Even though most days, I would like to fill Skinny’s stocking with coal, we like to give her some yummy treats in hopes that she will be too busy eating a snack instead of eating our presents!
I love my cats and I want to treat them to a Merry Christmas. Which is why they get their own stockings to fill up with treats, especially Temptations® Classics Tantalizing Turkey Flavor Cat Care & Treats.
And because every pet needs their own stocking, I’m sharing a simple sewing tutorial for Christmas stockings! This is a great tutorial for beginners to practice sewing skills!
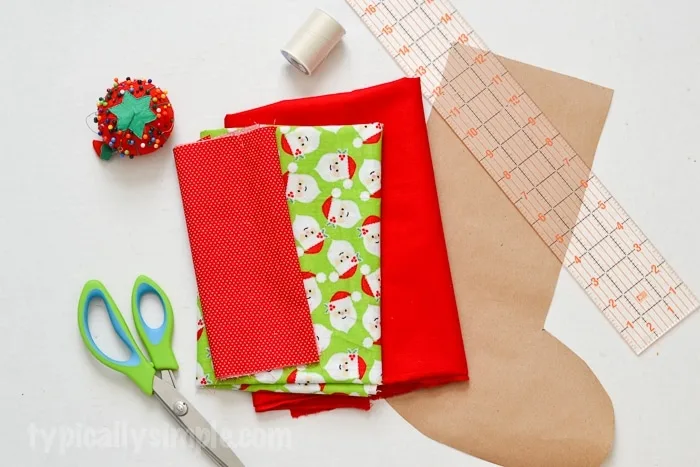
Materials
2 pieces of fabric – cut to 18×24 inches
2 pieces of fabric – cut to 7×9 inches
scissors, tread, ruler, marker, pins, pinking shears
sewing machine
iron
Directions
Start by cutting out a template for the shape of your stocking. I freehanded mine, but you could also trace a stocking you already have.
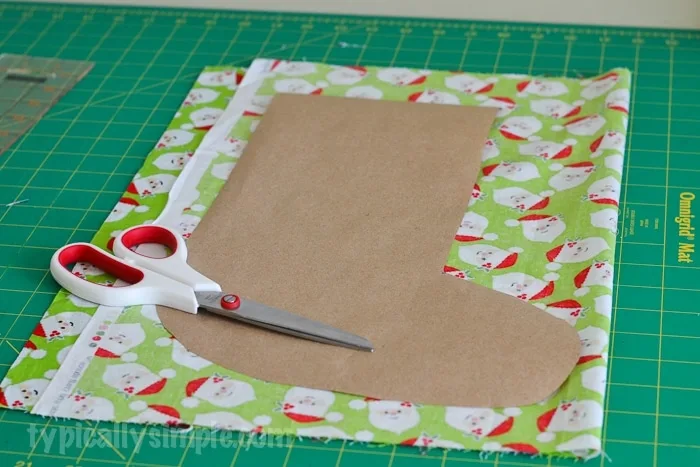
Placing the fabric right side together, trace and cut out your stocking shapes – two from each piece of fabric. Trim the smaller pieces of fabric to the same width as the top of the stocking – this will create the cuff when the stocking is finished.
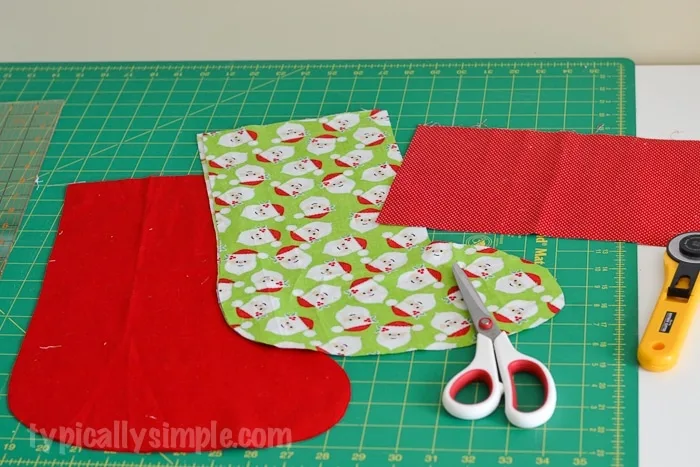
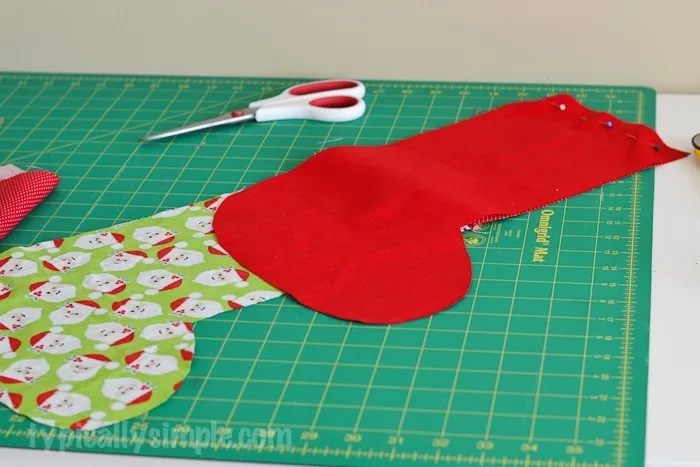
Place the rectangle piece of fabric on top of the stocking piece, right sides together. Pin at the top.
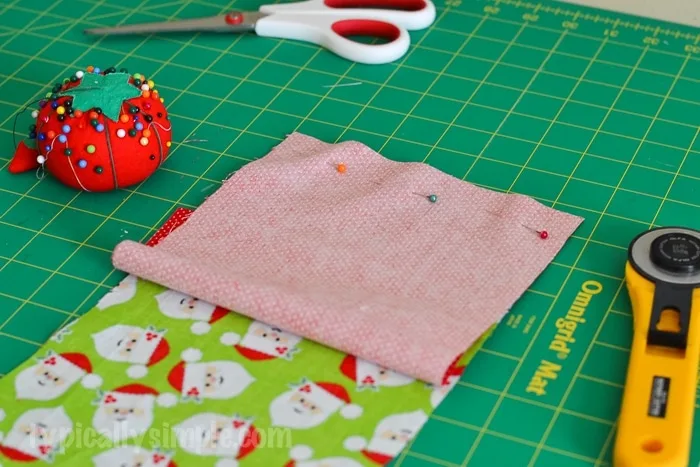
Using a 1/4 inch seam, sew together.
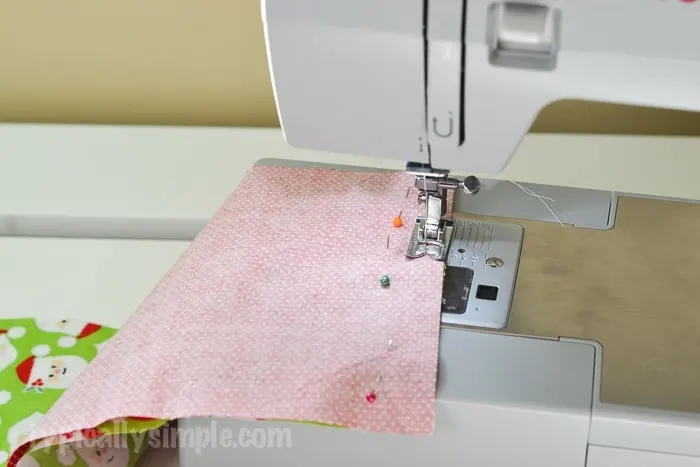
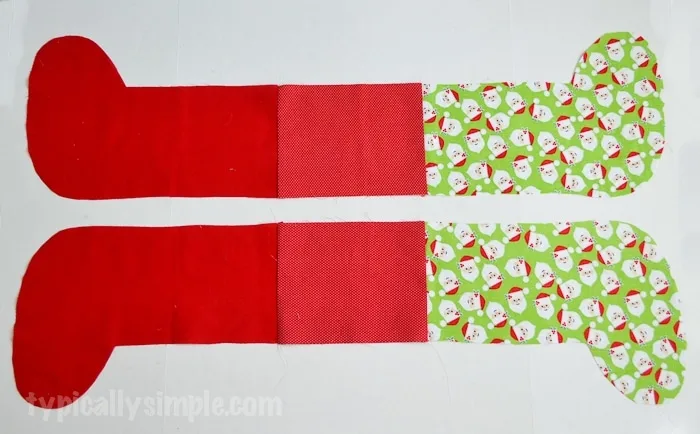
Continue this for each piece, to create two long pieces of fabric that will create the stocking.
Your finished pieces will look like the photo below. Iron the seams flat.
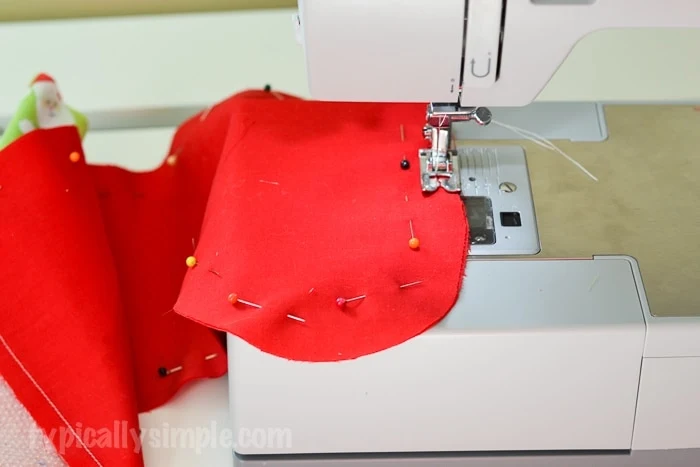
Pin the two pieces all the way around, right sides together. Starting at the sole of the foot part, sew a 1/4 seam to attach the two pieces. Make sure to leave a small, 1-2 inch opening that can be used for turning.
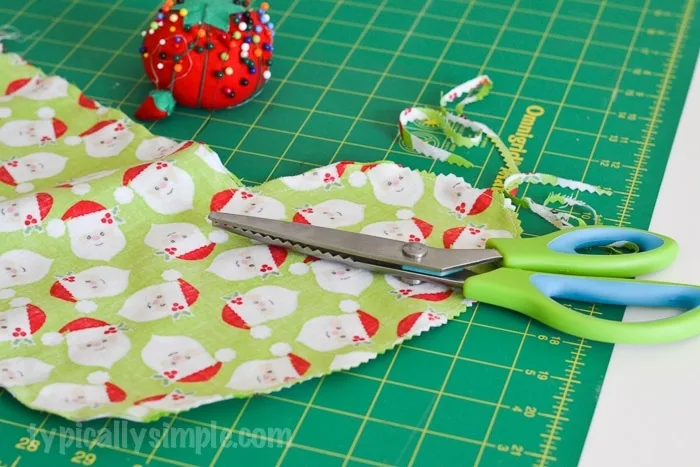
Using pinking shears, trim any excess fabric off making sure not to cut the seams. If you do not have pinking shears, just make sure to cut notches around the curves to make sure the fabric lays flay when you flip the stocking right side out.
Push the fabric through the opening and pull to start turning the fabric. It helps to use a pencil to push out all the corners and curves.
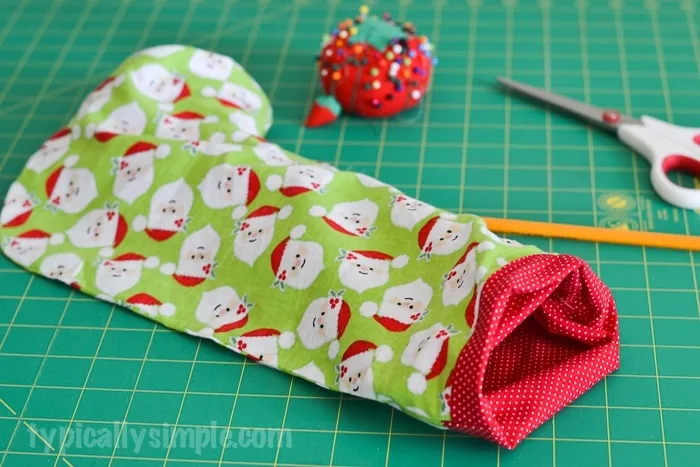
Stuff the liner into the stocking and create a cuff with the excess fabric at the top. Iron out any wrinkles. I decided to attach a piece of ribbon at the top to make hanging easier.
Then fill with your cat’s favorite treats for Christmas!
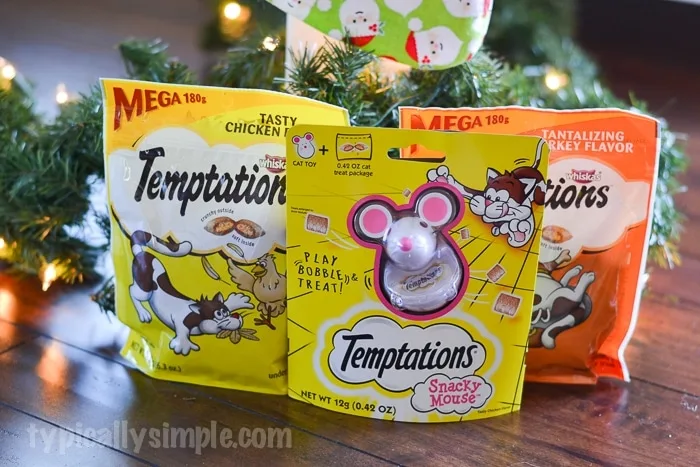
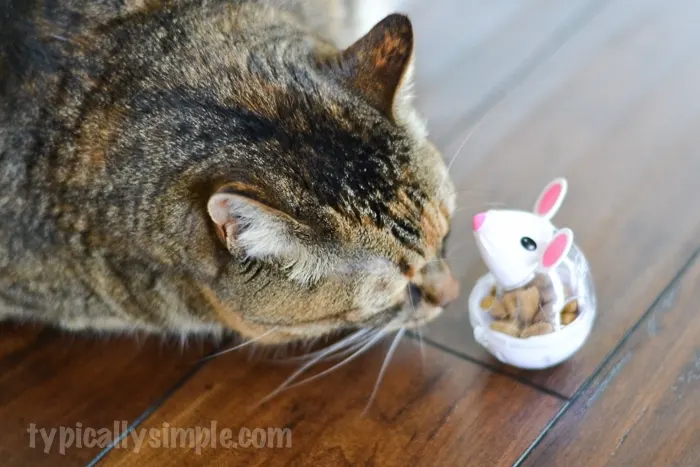
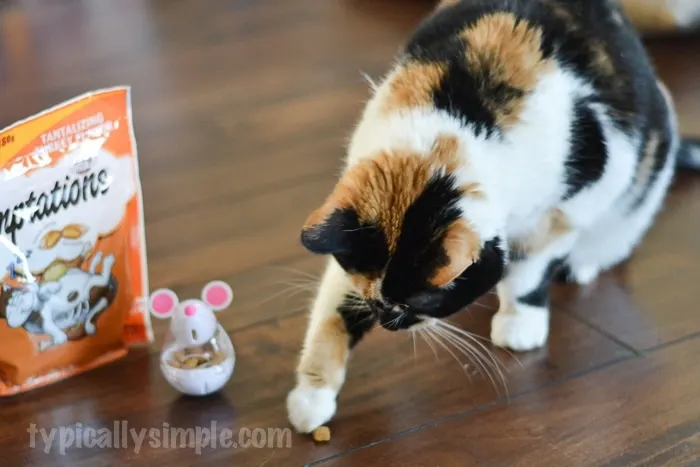
The cats were very excited to taste test their treats for this post. They gave them two paws up! Loucy especially liked the Temptations® Snacky Mouse that she got in her stocking.
Have your cats been naughty or nice this year? What will you be filling their stockings with for Christmas? Hopefully not coal!
