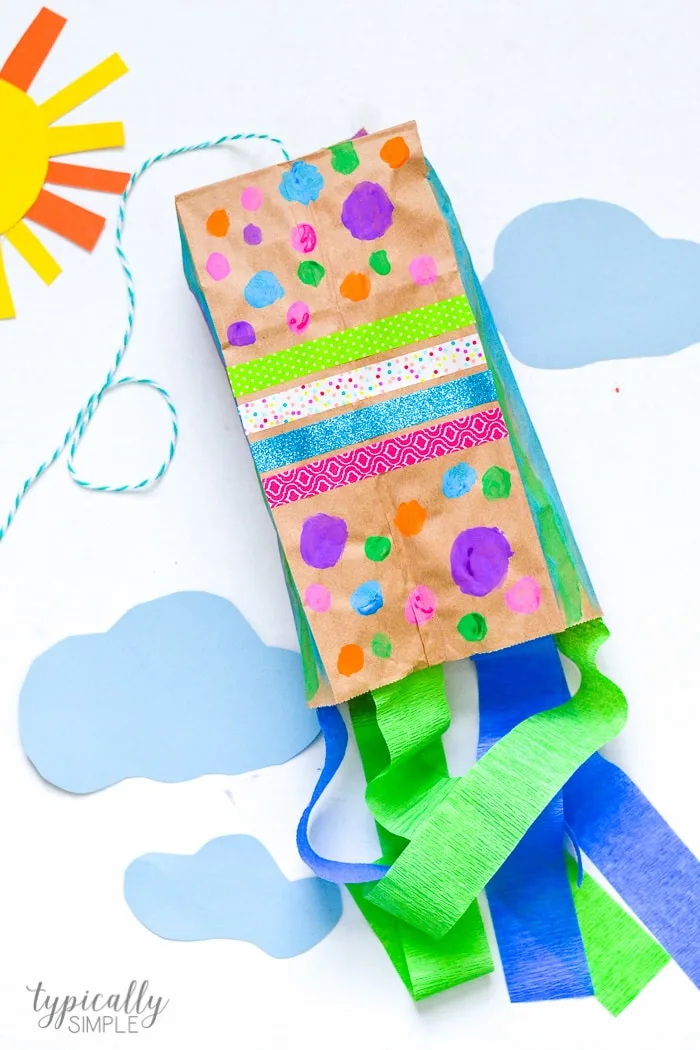
This paper bag kite craft is a fun way for kids to welcome spring! And all will need are just a few basic craft supplies!

Spring is one of my absolute favorite times of the year. I love seeing flowers pop up after a long winter, plus all of the fresh smells, birds chirping, and grass turning green again. And the breezy spring days are always perfect for flying kites!
We’ve had our fair share of store-bought kites, most of which have ended up in a tree or the pond behind our house. So I thought it would be fun to make some homemade kites this year!
We had all of the supplies on hand in our craft cabinet, which makes this a great last minute project, especially on those days when the kids have spring fever and need something to keep them busy!
Supplies Needed for Paper Bag Kites
- paper lunch bags
- yarn or strong twine/string
- popsicle stick
- scissors
- streamers
- tape
- scissors
- embellishments: stickers, paint, markers, crayons, construction paper, washi tape
Directions
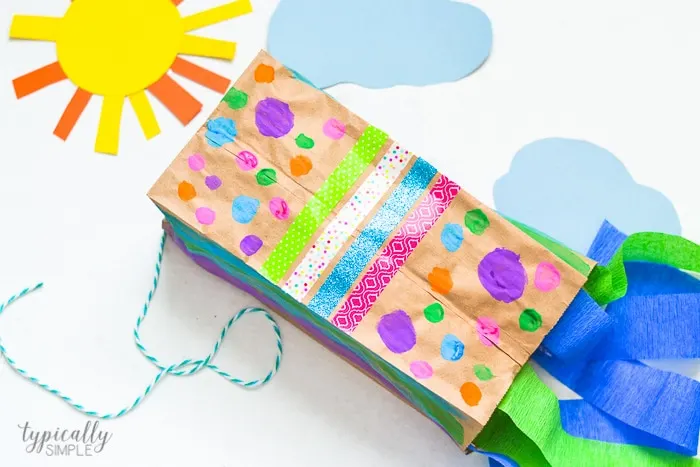
To get started, the kids can decorate the paper bags using a variety of embellishments. Stickers and washi tape work really well to add some fun prints and colors! They could also draw designs with markers and crayons or add polka dots and stripes using washable paints. Just make sure the paint is dry before moving on to the next step.
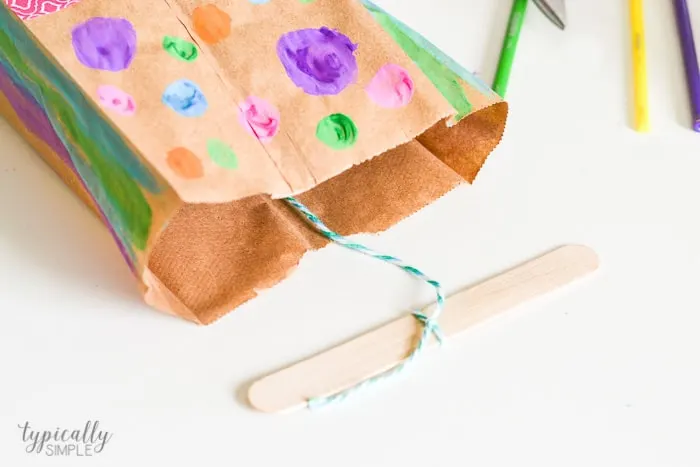
Using a pair of scissors, snip a little hole on the bottom base of the bag. This will be used for the kite string.

Cut a piece of yarn or string about 18-24 inches long. Tie one end to the middle of a popsicle stick and feed the other end through the hole in the bag. The popsicle stick will keep the kite string from pulling out when it’s flying.
Attach streamers to the open end of the bag using tape. Now the kite is ready to fly!

I love how open ended this project is and that it allows the kids to be creative by choosing different colors and patterns to decorate their paper bag kites. Plus the supplies are super basic and fairly inexpensive, so the kids can make a few different kites to fly outside. We even tied ours to the tree and watched it fly around!
This project idea was first shared on Somewhat Simple.
