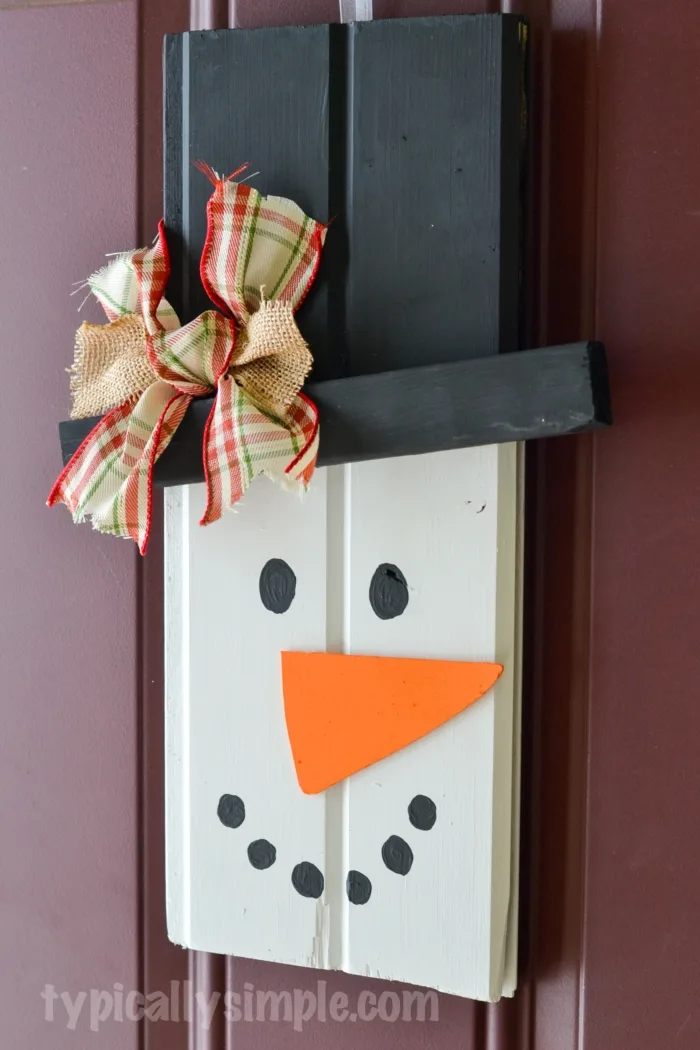
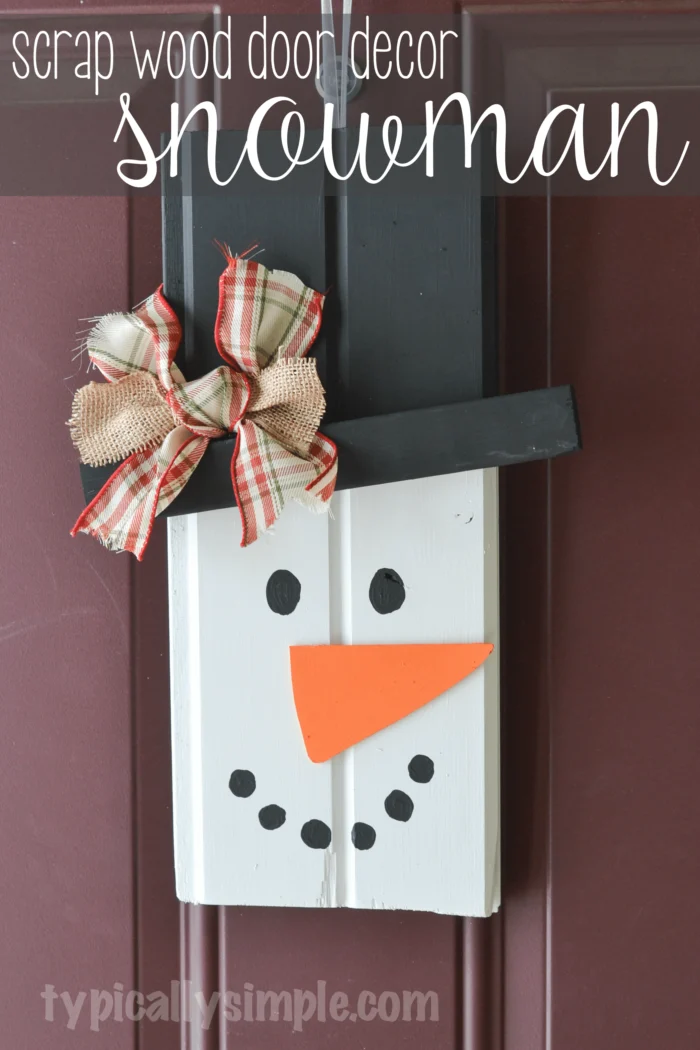
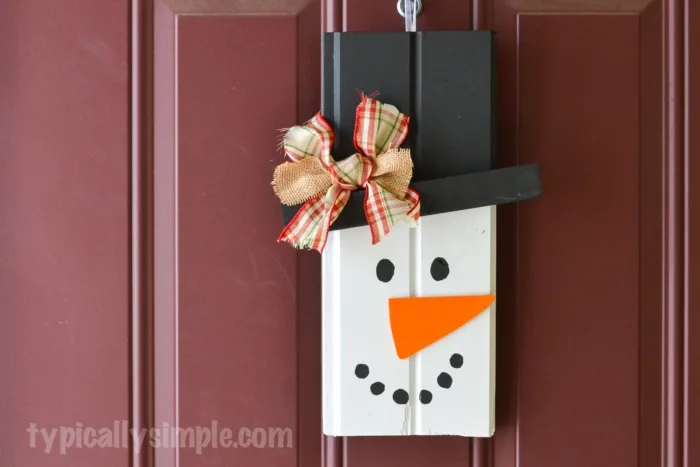
With two pieces of scrap wood, some paint, and a few other supplies from your craft stash, create this cute rustic snowman to hang on your front door!
Since we moved into our house (which was almost a year ago!) we’ve been saying how nice it would be to have a storm door. It kept getting put off and finally one weekend this past fall when Menards was having an 11% rebate sale, we decided to order one. My husband and dad installed it and I’m so glad to have one now!
Not only does it let in some extra light and fresh air when the front door is open, but now I could hang some cute door decorations without worry about them being destroy by the wind, rain, & snow.
I feel like January is an odd time for decorations…I’m so done with Christmas everything, but I also feel like it’s too early to hang up Valentine’s Day decor. So I thought it would be cute to decorate with snowmen for a few weeks before the red & pink decor gets put out.
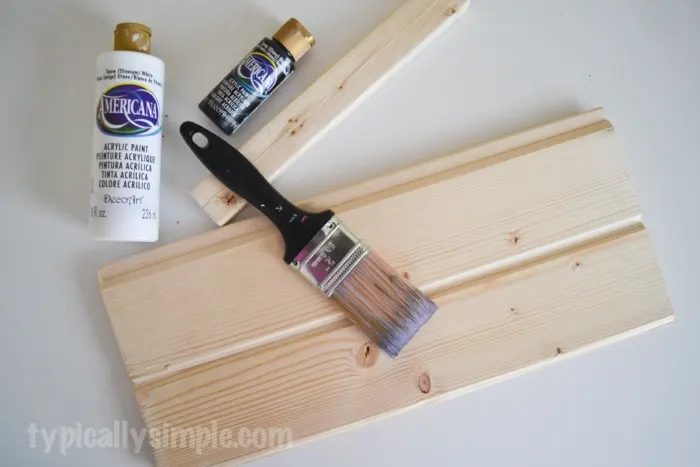
My in-laws gave me a ton of scrap wood from a project they did at their house and I dug around until I found what I was looking for. This entire project was made from my craft stash, no trips to the store needed!
Supplies
wood board for base – I used a piece that is for creating wood plank walls
1×2 board or something similar for the hat brim
sawtooth hanger
acrylic paint & brush
burlap & ribbon
wood for the nose
hot glue gun
Gorilla Glue
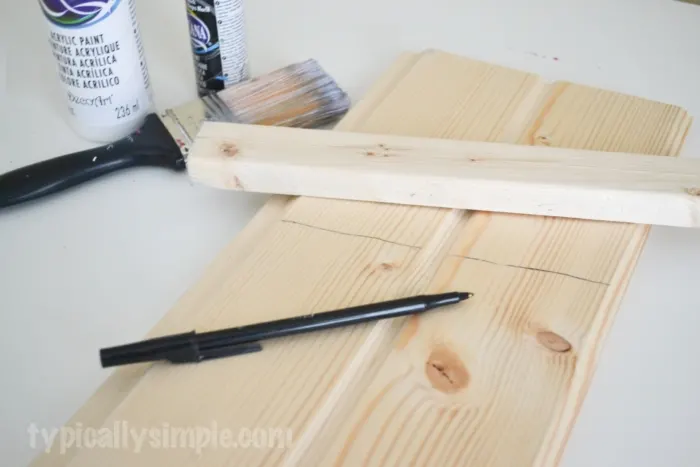
To get started, decide where you want the brim of the hat to go and if you want it to be straight across or on a slight angle. I decided to put it on an angle a little higher than the middle of the board. Since I needed to paint the bottom white and the top black, I made a quick mark with a pen to show where the brim will go.
Using acrylic paint, I put a few coats of white on the bottom half and a few coats of black on the top half plus the wood piece that will become the hat brim.
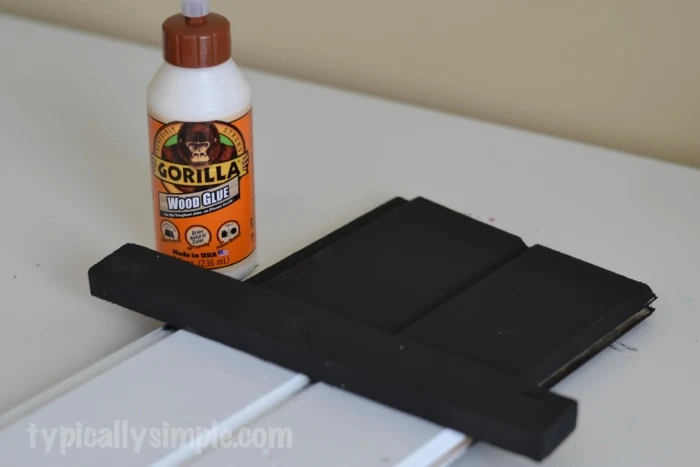
Gorilla glue is seriously one of my favorite craft supplies, it’s crazy how strong it is once it dries. I put a thin coat of glue on the wood base, then placed the hat brim piece on top. You can use clamps or just put some boards on top to give it a little weight while it dries.
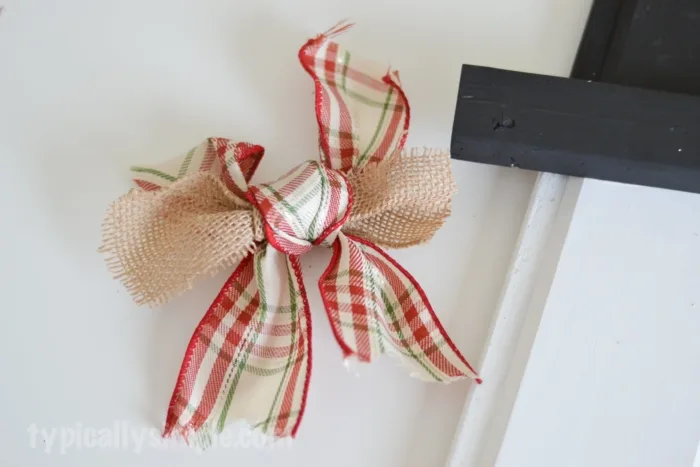
While that part was drying, I started putting together a little bow to attach to the hat. I love the look of burlap, so I knew I wanted to include that somehow. I had some ribbon I found on clearance after Christmas that didn’t look too Christmasy that I decided to use with it. All I did to make the bow was tie the burlap in a knot then tied two pieces of ribbon in knots on top of that. I frayed the ends a little and that was that!
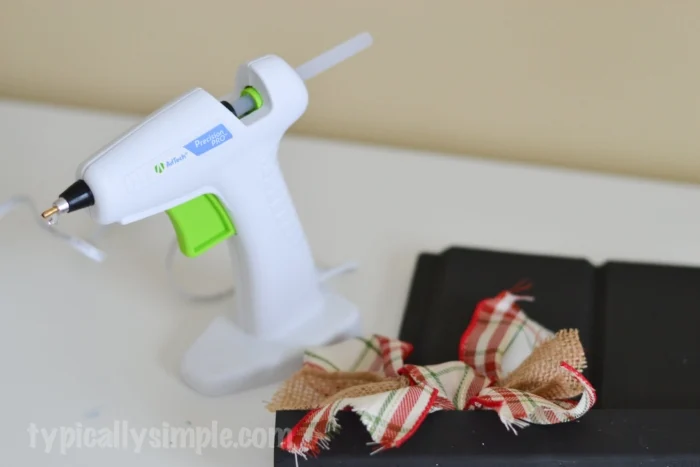
Using my trusty hot glue gun, I attached it to the base board near the hat brim.
My original plan was to just paint the nose on the board with some orange paint, but I thought that might look a little plain. I found an extra wood pennant piece in my craft stash and cut it to look like a carrot nose. You could really use anything you want to make the nose…painted chipboard, paint the nose right on the board, another scrap piece of wood, there are lots of options!
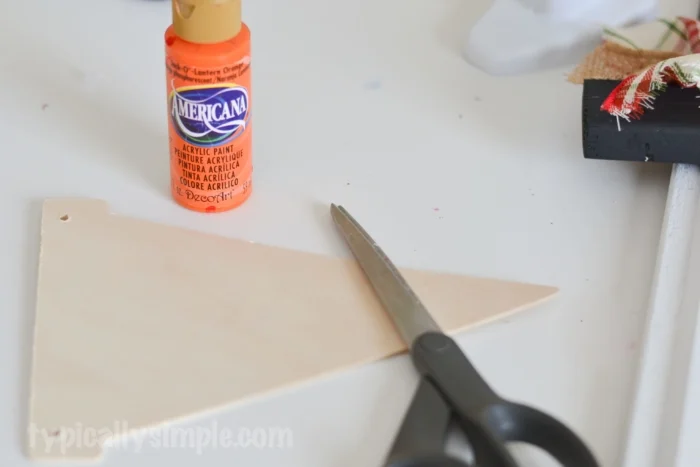
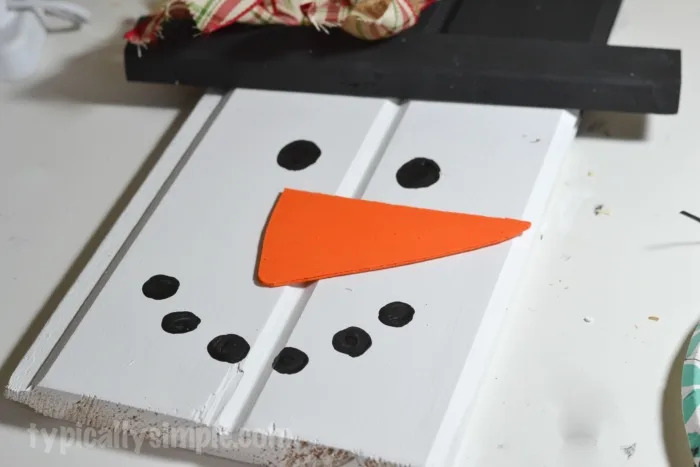
After the orange paint had dried, I attached it to the base board with hot glue. Then using black acrylic paint, added some eyes and a mouth.
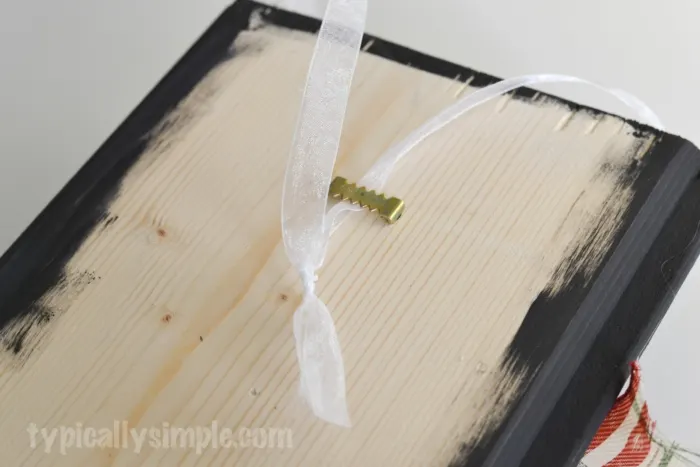
Once that part was dried, I hammered a sawtooth hanger to the back of the board and tied some ribbon in a loop to make the hanger.
Depending on the look you are going for, you could sand the boards a bit to give it a more distressed look or just leave them as is like I did. And this doesn’t have to be just for the front door, it would look cute hanging on any door or wall in the house!
