For awhile now, I have been looking at a few different options for photography backgrounds. Most bloggers recommended using paper faux wood backdrops which are easily found at craft stores or online. My biggest concern for this was that I don’t have a dedicated space for taking photos and I didn’t want to end up ripping the paper when moving it around.
So of course, I decided I would make one out of real wood…and by me, I really mean my handyman Dad. After showing him some pictures to get an idea of what I wanted, we went digging around in their garage. We found a scrap piece of plywood that would work perfectly!
I didn’t want something huge because, like I mentioned before, there isn’t a lot of space for me to keep all of this. And since I was only going to be using it for blog and Etsy shop photos, I didn’t need something large.
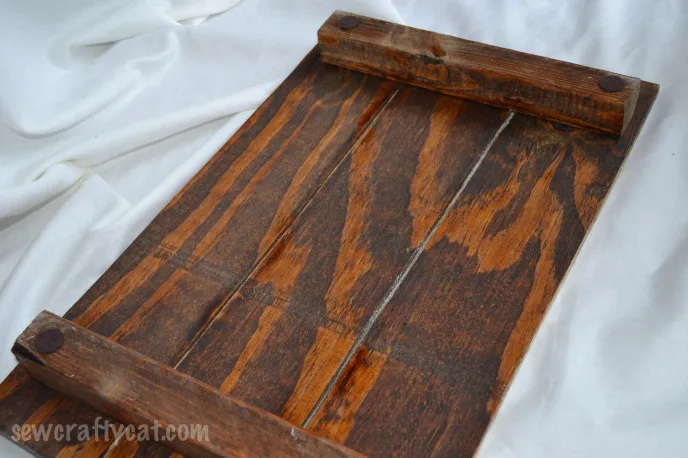
My dad cut the plywood 4 inches wide and about 2 feet long to make the boards. He then attached them to some scrap 1×1 which made it more like a pallet. I knew I wanted a distressed look, so he stained the whole thing with some leftover stain as a base.
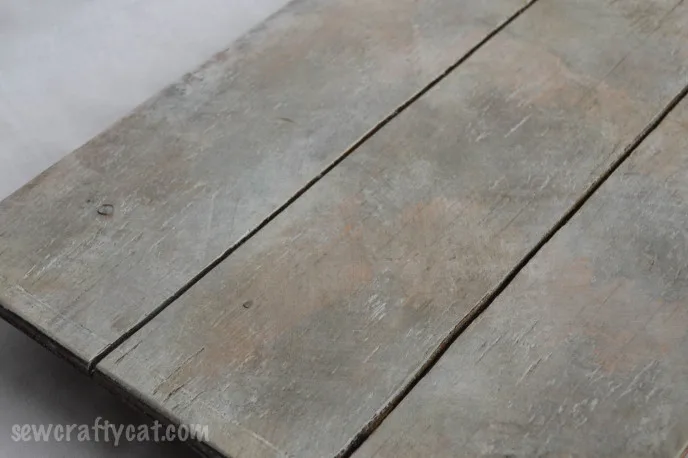
Using white paint, I added a layer with a paint brush and lightly wiped it off with a wet towel. After letting that dry, I added some grey paint and more white paint to start making it look distressed. I also took a cloth and added some more stain to different spots.
Using sandpaper, I roughed up a few spots, added some more stain, a little white, sanded again…there really was no rhyme or reason to how I did this or where I added different colors. If I didn’t like how it looked, I wiped it off or added a different color.
And to finish it off, my dad added some nails in a few different spots to give it that wood board look I was going for.
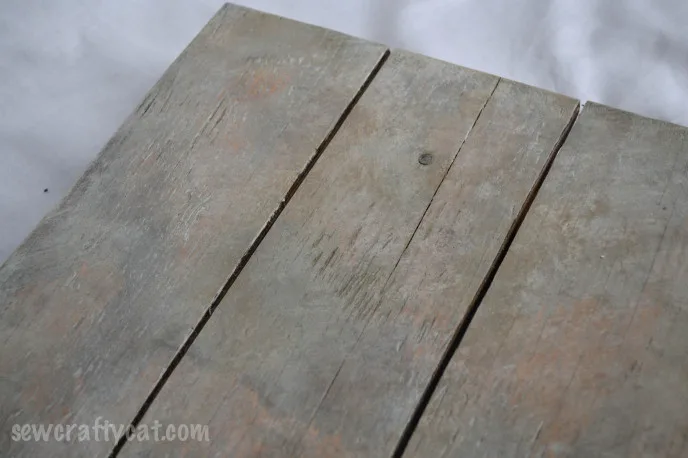
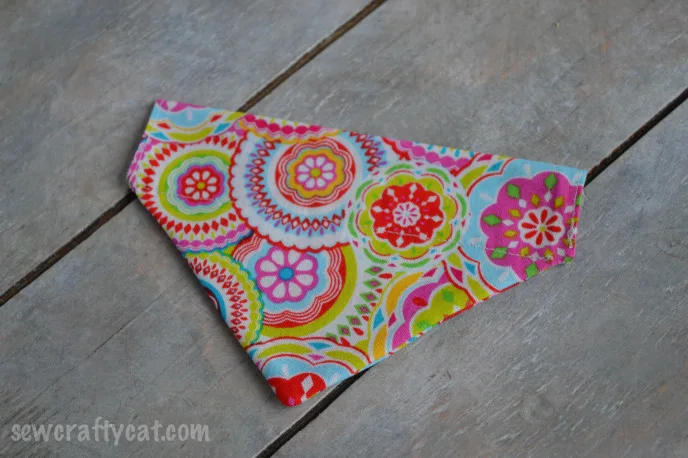
I love how it turned out and have used it in a few recent blog posts, as well as in my Etsy shop photos. And it was free! Everything we used was found in the garage – scrap pieces of wood as well as leftover paint and stain. Definitely my kind of project!
