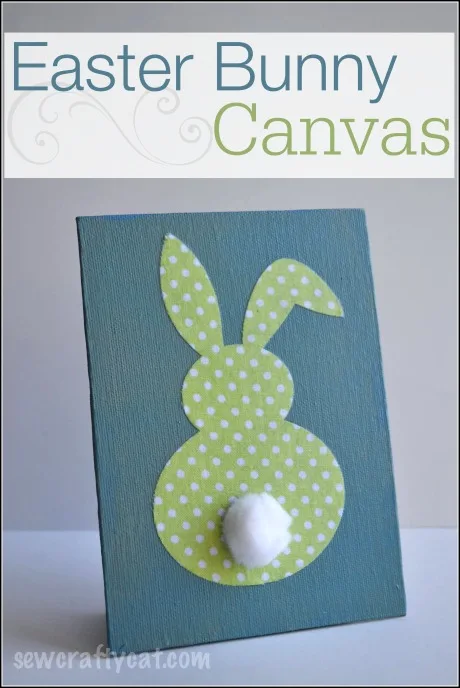
Vinyl and paper seem to be the popular things to cut with a Silhouette Cameo. I use mine quite often to cut both those, however I also love using it to cut fabric.
In the past I would print out a template then cut the fabric shape out from that…cutting fabric with scissors is not one of my strong suits in the crafting world. With my Cameo, I can pretty much be guaranteed a design that is doesn’t look like it got stuck under the lawnmower.
I started this project by painting my canvas with blue & green paint. Actually the same two colors I used for my DIY Easter Eggs because I knew I wanted to sit this next to them.
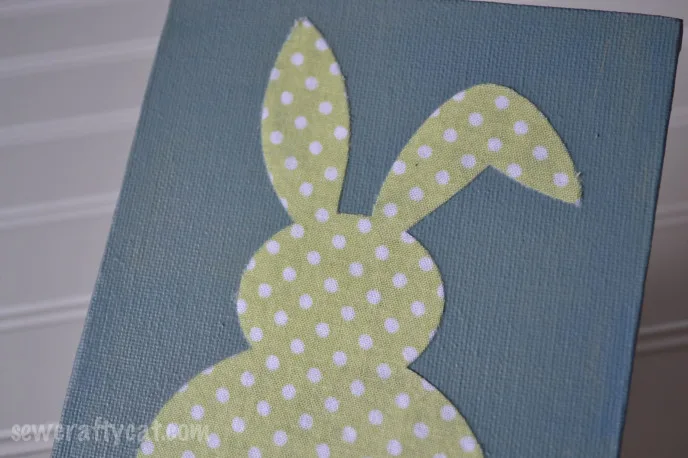
After adding some heat and bond to the back of my fabric because when cutting fabric with the Cameo, you always need some sort of stabilizer, I loaded it into my Cameo to cut out the bunny shape.
Using Mod Podge, I put a layer on the canvas, stuck the bunny cutout to it, and then coated it in another layer of Mod Podge.
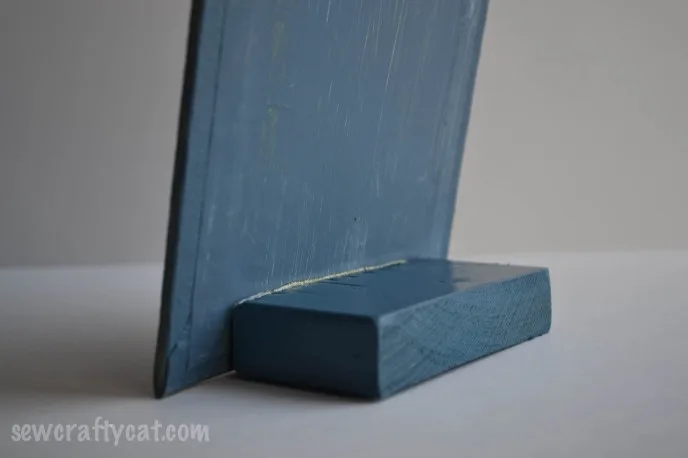
I’m beginning to think my dad should be a contributor to the blog because once again I enlisted his help! When I was showing my parents this project, I didn’t know yet how to make it stand up. It was my dad who suggested I add a little piece of wood to the back like we did on the Easter Eggs. So we found a scrap piece in his garage and using the grinder, he cut the wood to be on a slant so the canvas would look like it is leaning back.
It needed a little something more to it, as it did not look complete to me. So I found some puff balls in my crafting stash and attached one with hot glue to make a little tail!
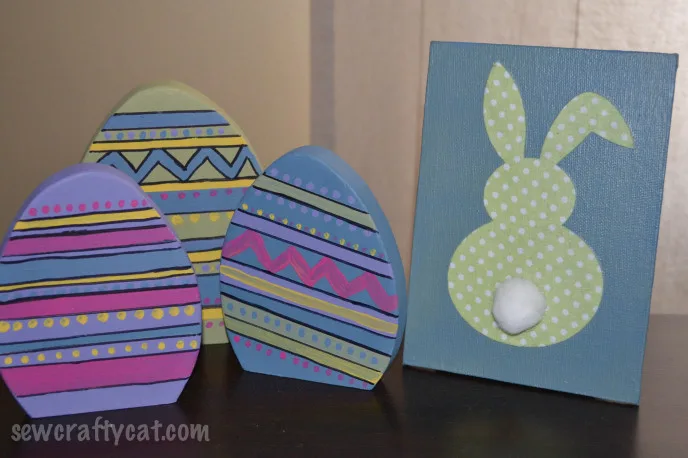
Our side table is really starting to come together for Easter with these home decor projects. I love how adorable the Easter bunny looks sitting next to the wooden Easter eggs!
