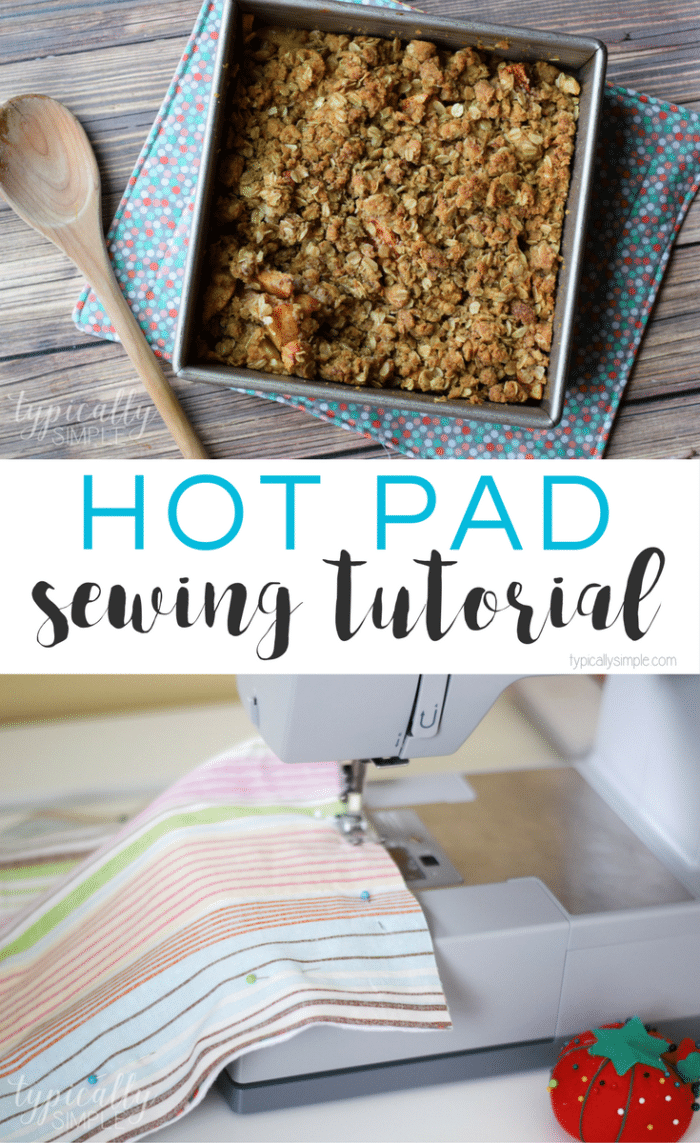
Hot Pad Sewing Tutorial
This shop has been compensated by Collective Bias, Inc. and its advertiser. All opinions are mine alone. #ExperienceScrubDots #CollectiveBias
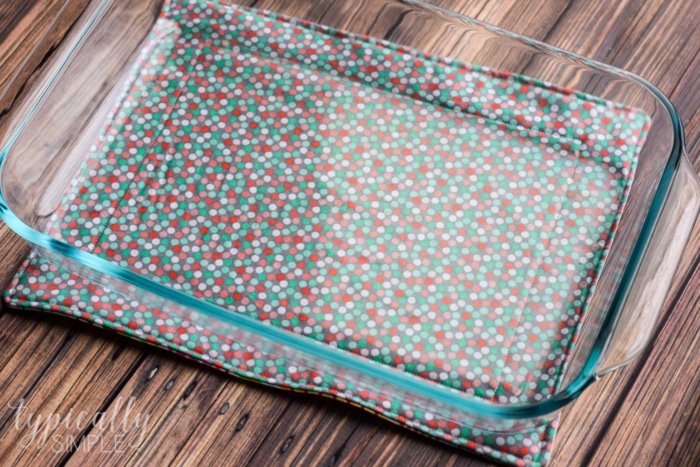
This hot pad is a perfect sewing project for a beginner. Whip up a few fabric hot pads to protect your table or counter from warm casserole dishes or baking pans.
Some of my most favorite recipes to make are yummy breakfast casseroles with eggs however I also can't pass up a good apple crisp, especially this time of the year! But the one thing I do not like about those types of recipes is having to do the dishes afterwards.
You know the type - baked on food that you don't want to deal with. I've been known to leave a pan "soaking" in the sink for a few days just because I don't want to tackle the task of scrubbing it.
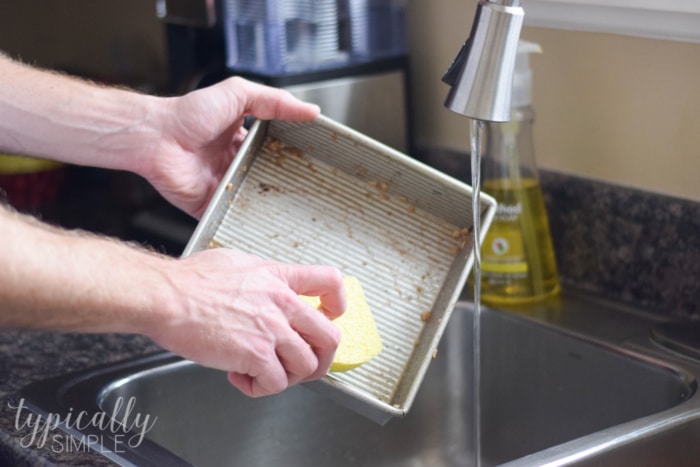
Enter the Scotch-Brite® Heavy Duty Scrub Dots Sponge. This is the real deal. I've actually been using the Scotch-Brite® Non-Scratch Scrub Dots Dishwand since I came across is at the store a few months ago.
And since I knew how well it worked on my everyday dishes without scratching them, I just had to give the Scotch-Brite® Heavy Duty Scrub Dots Sponge a try.
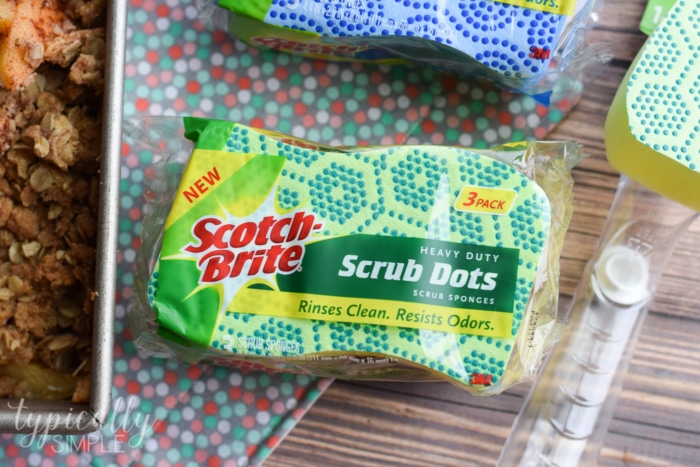
It scrubs fast and rinses clean - food baked onto pans & cookware doesn't stand a chance with these Scotch-Brite® Scrub Dots!
Scotch-Brite™ Brand makes it so easy to clean the dishes, especially after enjoying one of your favorite baked dishes! While Scotch-Brite® Scrub Dots takes care of the after, you also need something to place those warm dishes on for serving. This quick sewing tutorial for making a hot pad is a perfect way to use up some of your fabric scraps, plus it helps protect your counters and tables from warm pans.
How to Make a Hot Pad
Supplies
2 pieces of fabric - 13x10 inches
2 pieces of batting or Insul-Bright - 13x10 inches
sewing machine
scissors, thread, pins
iron & ironing board
rotary cutter, ruler & cutting mat
Directions
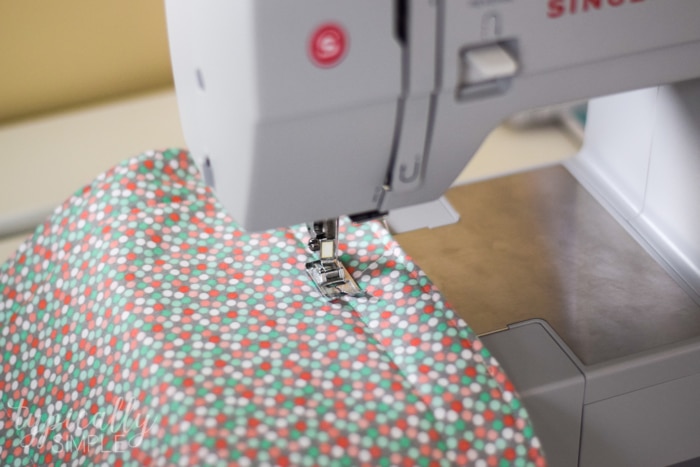
Start by cutting the fabric & batting to size. 13x10 inches will work well for larger pans and casserole dishes, but you can cut to any size to fit your pans.
Sandwich the pieces batting, backing, and top of the hot pad together – you will want the batting on the bottom and then the backing & top right side together. Pin everything and sewing around the edges leaving a 2-3 inch opening so you can turn the project right side out.
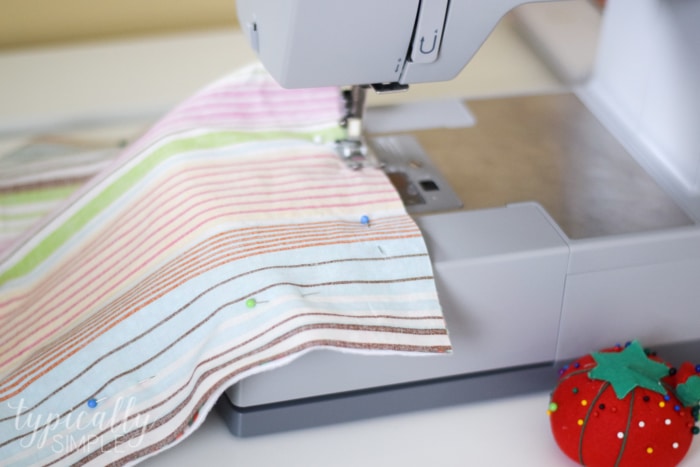
After turning the project right side out – you can read more about this step in my placemat sewing tutorial – iron and sew around the edge of the hot pad. I also like to add a few extra decorative stitches around the edge and through the middle to give it a quilted look.
Now the hot pad is ready to use! However, I do recommend that you let dishes cool a bit on the stove top before placing it on the hot pad - you do not want to burn your new project or your table with a really hot pan right out of the oven!
And how great would a few of these hot pads make as a housewarming gift or for a hostess!
 Just package them up with some Scotch-Brite™ Brand products and offer to do dishes after dinner - because you know how easy the Scotch-Brite® Non-Scratch Scrub Dots Dishwand makes washing the dishes!