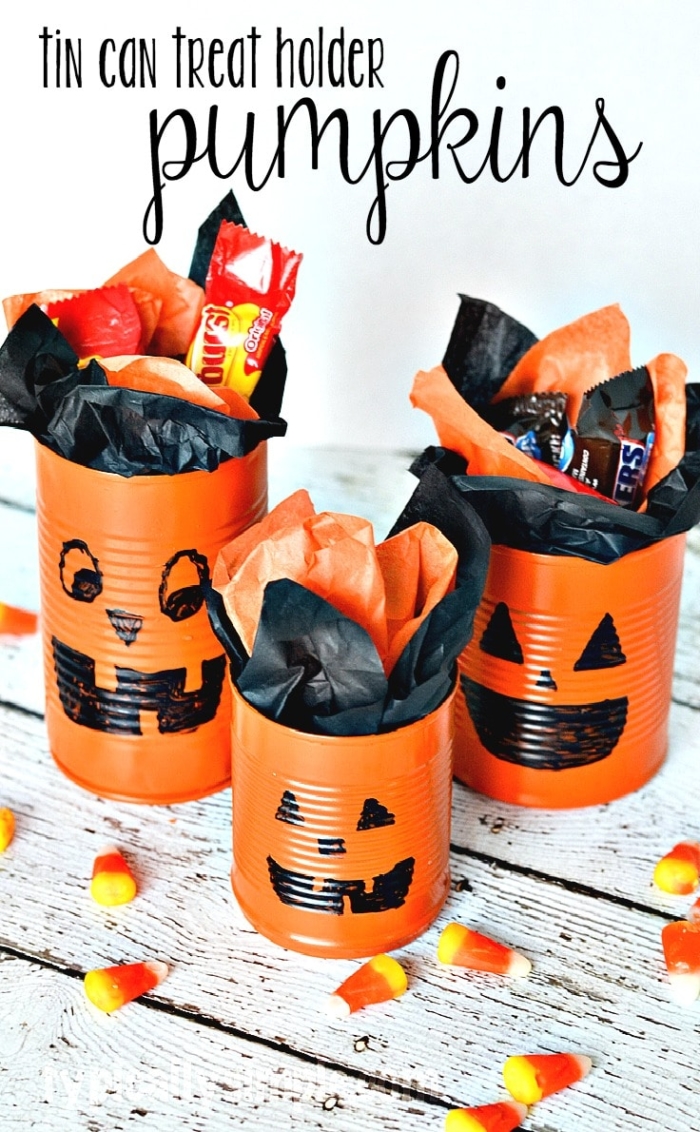
Tin Can Pumpkins Halloween Craft
These little tin can pumpkins are a fun project to make with the kids! You can fill them with some candy to give as an extra special Halloween treat to friends and family or even use them as centerpieces for Halloween parties. Let the kids get creative with the faces and can sizes to make a whole pumpkin family!
I love everything about Halloween crafts! There are just so many fun ideas and projects that can be made - everything from witches and ghosts to pumpkins and candy corn. I definitely lean more towards the cutesy side of Halloween decorations and these tin can pumpkin candy holders are just that!

This project was first shared as part of the Kenarry Creative Team.
Supplies needed for Tin Can Pumpkins
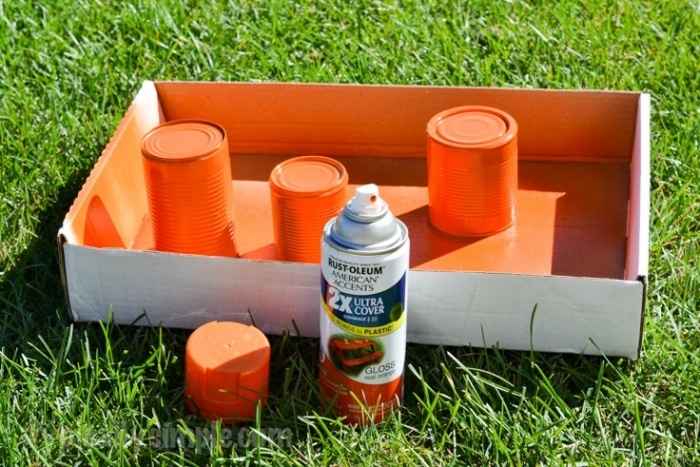
- empty, clean tin cans
- orange spray paint
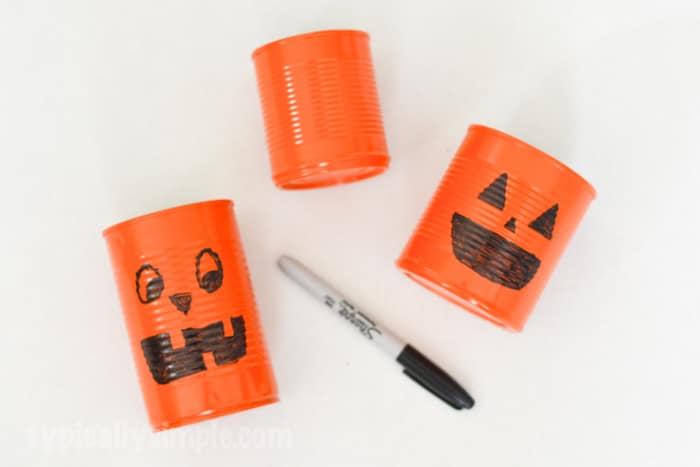
- black permanent marker
- tissue paper
- candy (optional)

DIRECTIONS
Start by spray painting the tin cans. I like to use a box lid to catch the overspray and also make it easier to move the cans to a safe place to dry.
After letting the first coat of spray paint dry for about 10-15 minutes, add a second coat to makes sure the cans are covered completely. Let them dry really well before moving onto the next step.
Using a black permanent maker, add faces to the tin cans to create pumpkins. If you don’t want to go the permanent marker route, you can have the kids cut out faces from black construction paper and glue them on. There are lots of options with this craft to make it age-friendly for your kiddos!
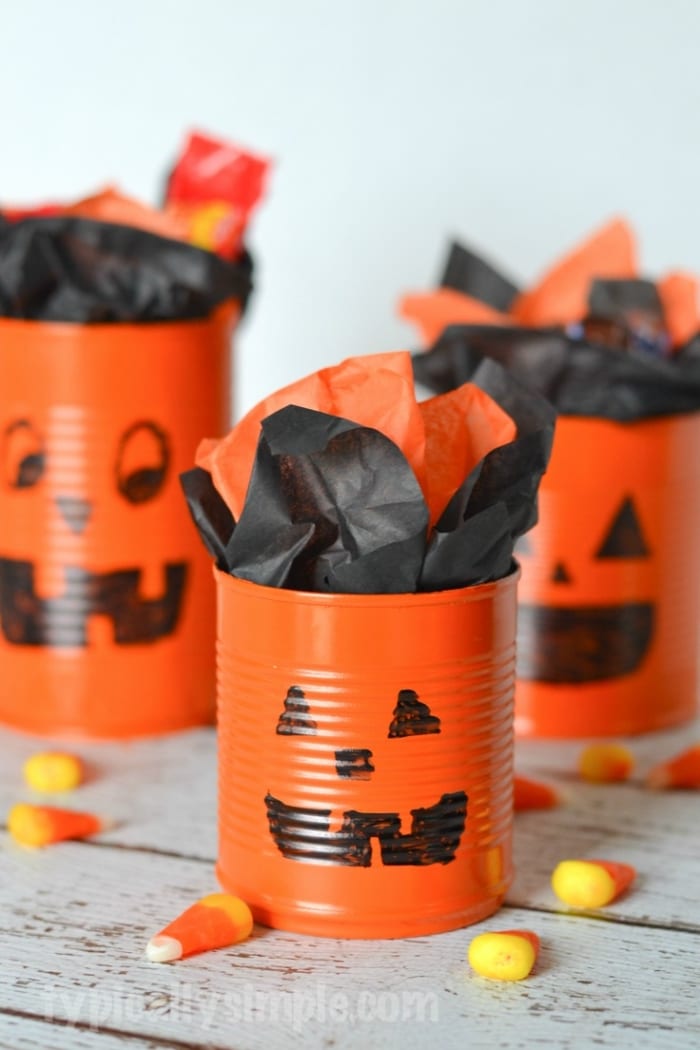
Once the faces are added, stuff the inside of the cans with some tissue paper. You can also add some candy if you would like to give this as a cute, Halloween gift. If using it as a centerpiece, arrange the cans on the table and scatter some candy corn or Halloween confetti around them. A simple, yet fun way to decorate the table!
Looking for more Halloween ideas? Be sure to check out these fun activities & crafts: