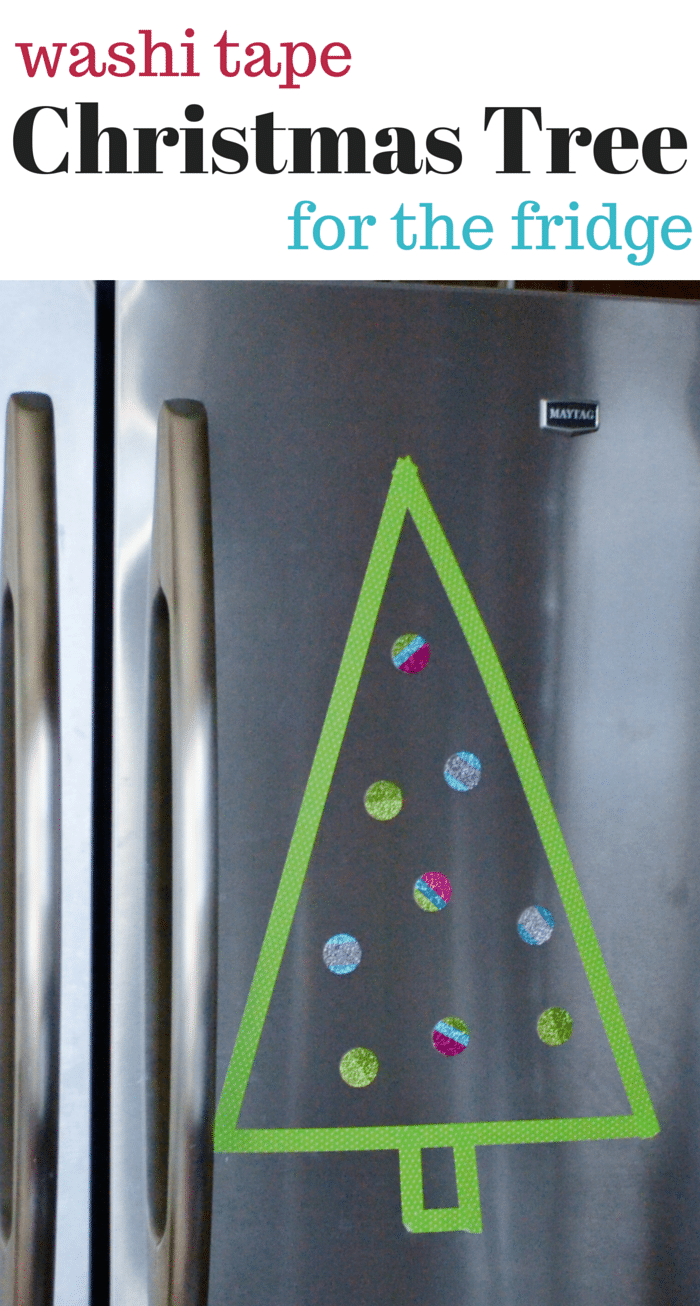
Washi Tape Christmas Tree for the Fridge
This shop has been compensated by Collective Bias, Inc. and its advertiser. All opinions are mine alone. #CraftAmazing #CollectiveBias
The weatherman is calling for A LOT of snow here this weekend. One of our radio stations started playing Christmas music last week and a few of the neighbors have started decorating the outside of their homes with lights. So I've decided it's finally time to get into the spirit of the holidays and start the Christmas crafting...especially since we are only about a month away now!
One of my favorite, favorite things to craft with is glitter. I'm sure a few of you are cringing right now as glitter is such a mess. But I love the sparkle it adds to projects, especially Christmas projects!
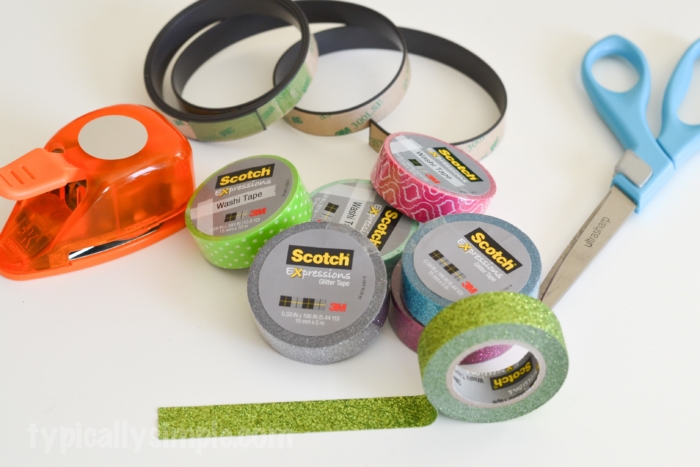
I found the Scotch® Brand Expressions Tape which comes in LOTS of glitter colors and washi tape. These would be perfect for the project I was thinking about! All the glitter I want without the mess! There is also the Scotch® Create line which includes masking tape, spray adhesive, magnetic tape and more for your crafting needs.
 My little guy is currently obsessed with Christmas trees. Anytime we are at the store, we have to walk down the aisles to look at the trees. And anything that remotely resembles a Christmas tree is the best thing in the world. So I thought it would be fun for him to have a Christmas tree on the fridge to add some magnets and decorate.
Supplies
Scotch® Brand Expressions Tape - glitter & green washi tape
Scotch® Magnetic Tape
Cardstock
Circle Hole Punch
Scissors & Craft Knife
Directions
Start out by choosing your favorite glitter tape colors and cut a piece long enough to stretch the width of a piece of card stock. Depending on the size of your circle hole punch, you'll need two or three pieces of Scotch® Brand Expressions Tape.
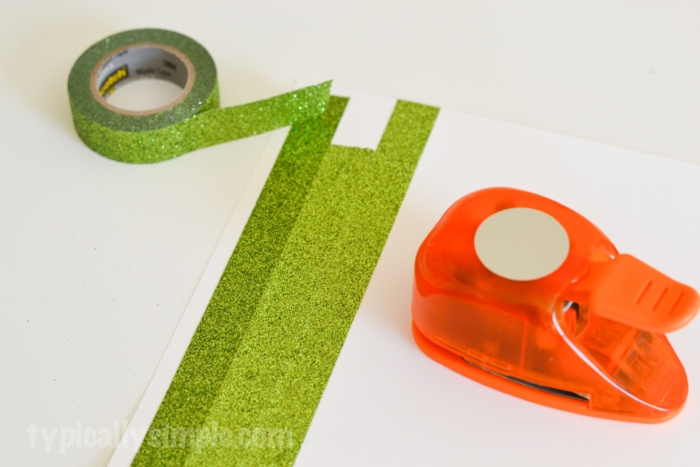
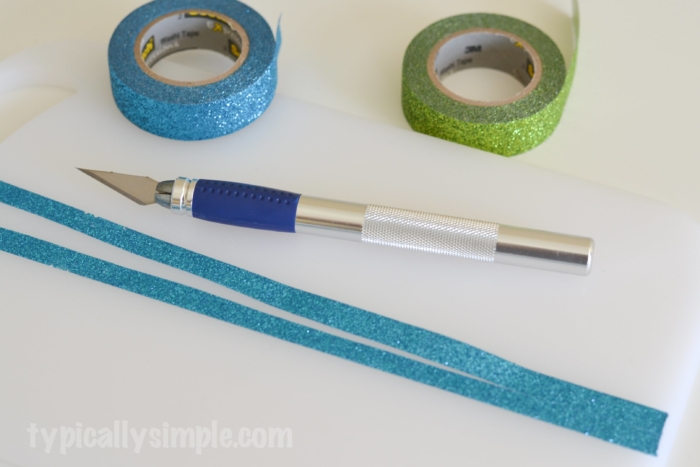
Get creative with this part! Make stripes or layers of colors. An easy way to cut the tape in half is using a craft knife on a cutting board or self healing mat. Just peel up and apply to the paper.
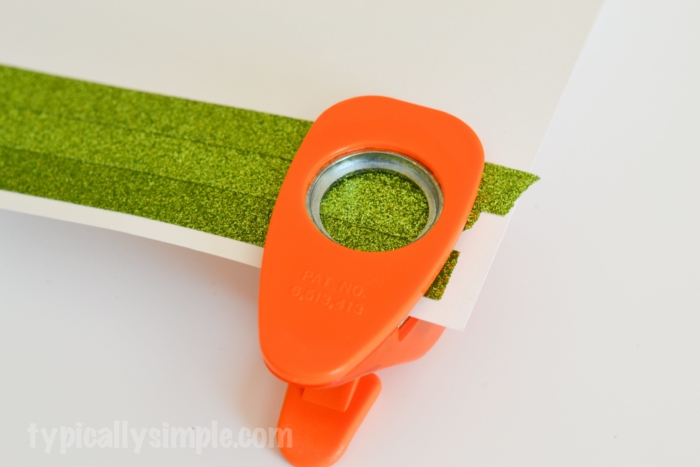
Using the circle hole punch, cut out circles which will become your ornaments. A trick I learned when scrapbooking is to use the punch upside down so you can see where you are cutting! Makes it so much easier to space out the hole punches without overlapping.
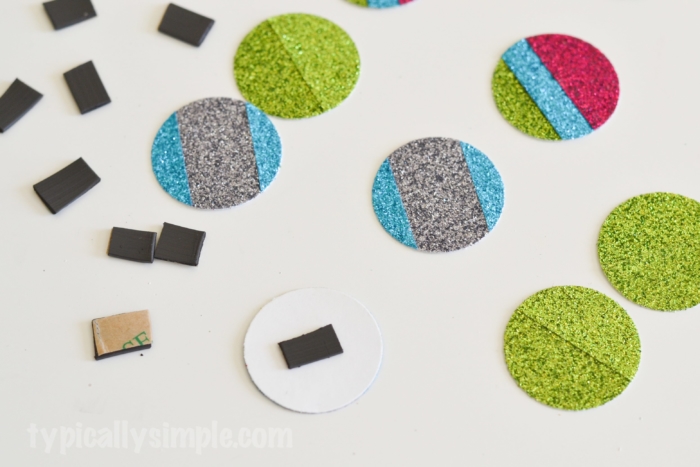
Cut the magnetic tape into small pieces, remove the backing to expose the sticky side and attach it to the back of each glitter circle.
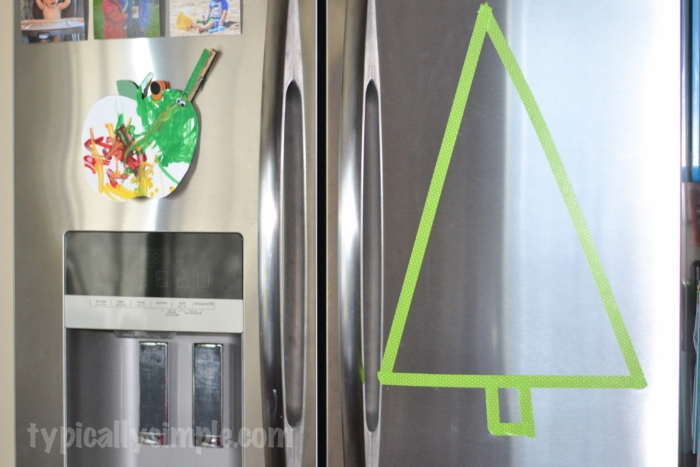
Using the green washi tape, create a tree shape on your fridge. I went with a simple triangle and added a little trunk.
While working on this project, I learned we have a fridge that does not lend itself to crafty projects! It has too many drawers and doors...it was completley cramping my crafty style. But I did learn that our garage door is magnetic, so I might just be moving this activity to the door instead!
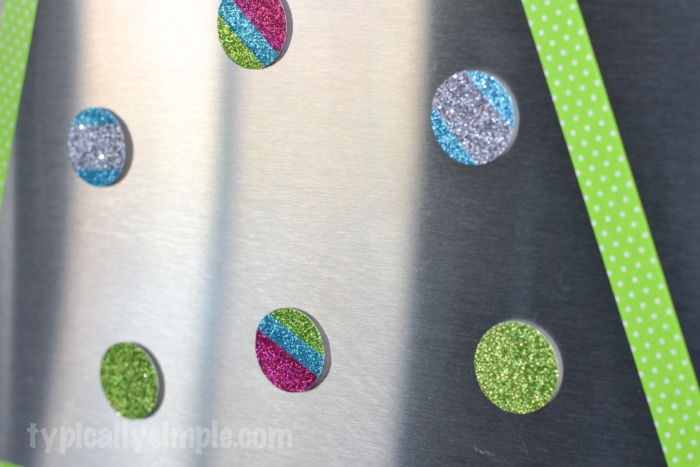
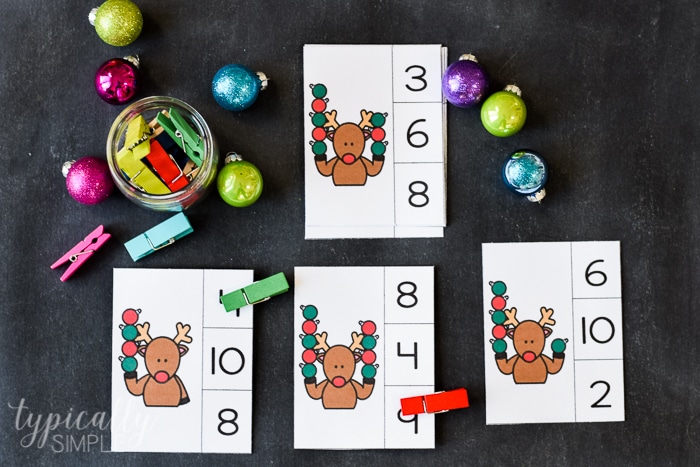
Now that your tree is created, it's time to add the ornaments. And this is a perfect way to get in a little learning. The kiddos can play matching games, counting games, identifying patterns and colors. You can even make different sized ornaments for sorting. SO many ideas for this! I can't wait to play & learn with my little guy using this Christmas tree.
Be sure to check out more amazing craft ideas with Scotch® Brand products. Which project will you be making?
Happy crafting!