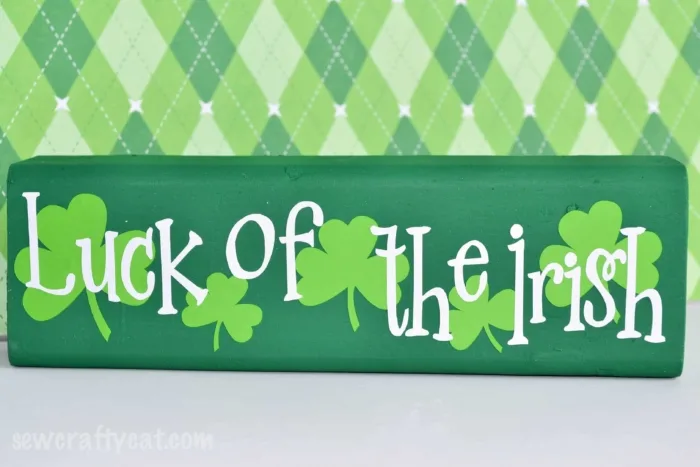
A simple project to make with your Silhouette Cameo; learn how to layer vinyl to create this fun St. Patrick’s Day wood block.
 I hear quite often how many people are afraid to start using their new Silhouette Cameo, or afraid to try a new medium (usually vinyl), or even how it has been sitting in the box for months.
When I saw the delivery confirmation for mine, I raced home from work to try it out. And ended up cutting through the mat on my first try with card stock. So I taped the mat up with some packing tape and set to work on figuring out what I did wrong.
Through other blog posts and some youtube videos, I was figuring out so many fun things to make and do with my Cameo. So I decided to put together a tutorial for a project that uses vinyl and layering!
 Supplies
Silhouette Cameo
vinyl
transfer paper and scraper
scrap wood
acrylic paint
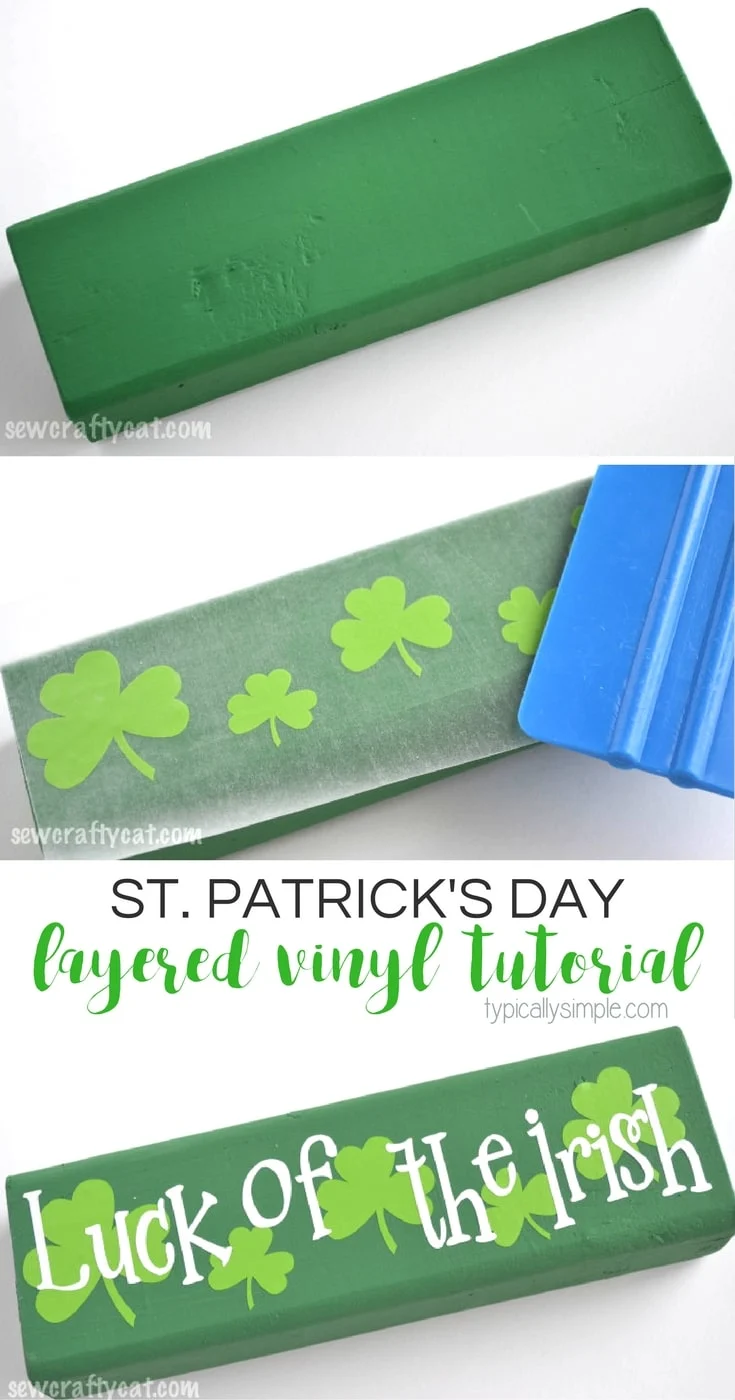
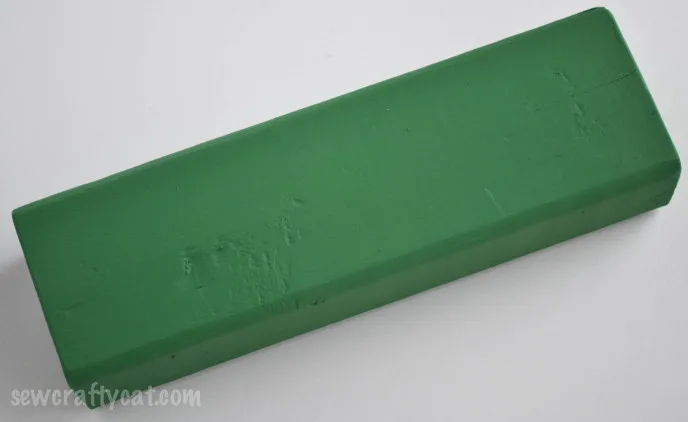
I started out by cutting a 1×2 piece of lumber about 7 inches long. After sanding the rough edges, I painted the whole thing with acrylic craft paint. Spray paint also works well and dries a lot faster…but it’s about 20 degrees outside right now, so acrylic had to do.
 Using Silhouette Studio, I designed what I wanted to put on my piece of wood. Something I always do when designing for a project is making a box in studio that is the same size as my work area on the project.
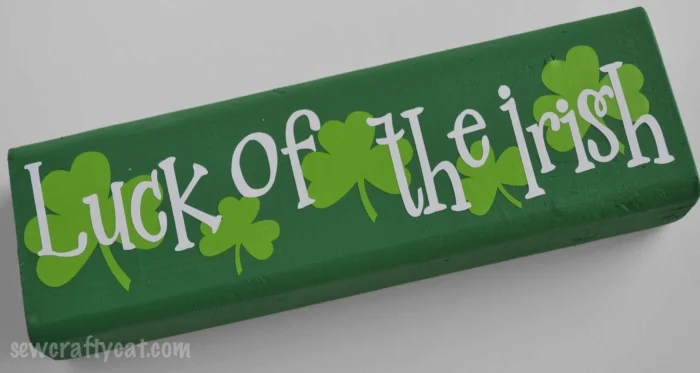
So in this case, I made a rectangle that is 7×2 inches. I decided on some shamrocks in green for the bottom layer and Luck of the Irish in white for the top layer.
After weeding out the extra vinyl, it’s time to transfer the vinyl onto the wood. There are a lot different transfer papers out there, but personally I just use contact paper. I can cut it to any size I need and if I ever run out, it’s a quick trip up to Target to get some more!
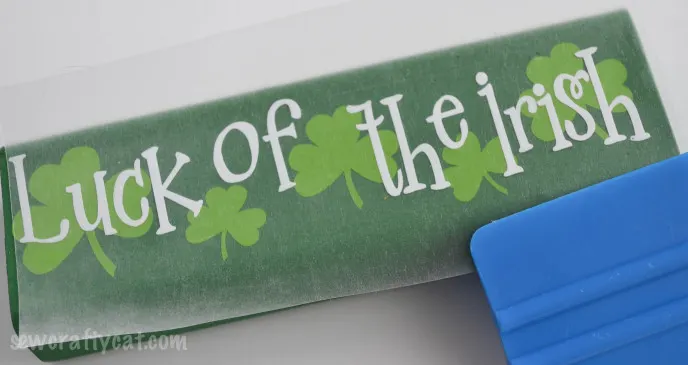
Take the transfer paper, place it on top of your first layer, rub with the scraper and peel up the vinyl off the housing paper.
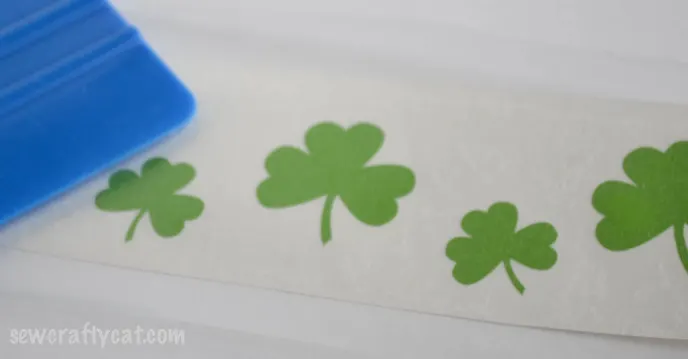 Then place it onto the wood and rub with the scraper again to adhere it. Remove the transfer paper and you are done with the first layer!
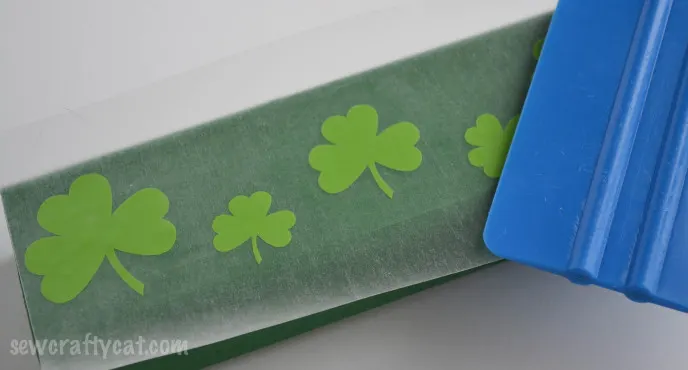
Repeat these steps again for adding the second layer. And that’s it! You have done a simple layering project.
Be sure to check out these other St. Patrick’s Day projects!
Wood Shim Pallet – Shamrock
Polka Dotted Lucky Banner
Burlap Shamrock Bunting
