

So the Halloween decor is down and now the home decor is in limbo between staying with fall and Thanksgiving type decorations or starting to put out Christmas decor. For me personally, Christmas decor does not come out in our house until after Thanksgiving! But over the next few weeks, I will be sharing some fall & Thanksgiving ideas AND some Christmas ideas for those of you who start decorating earlier!
Today I have a fun craft that is perfect for the kiddos! It’s a great project to work on tracing and fine motor skills for the littler ones, too.
Supplies
Puffy Fabric Paint
Wax Paper
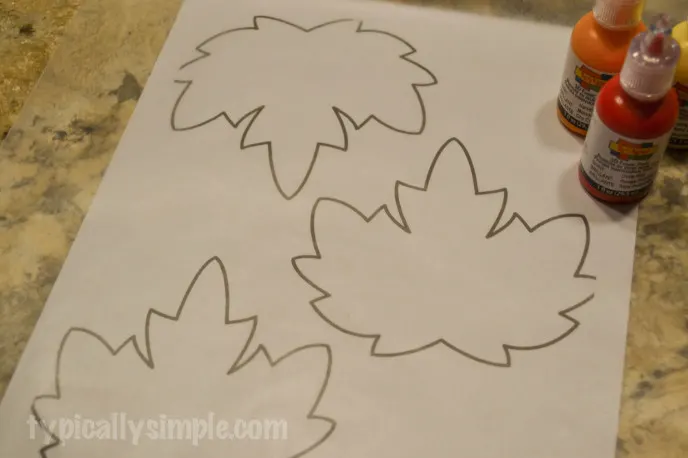
Printed Template
To make the template, I just found a leaf shape I liked, copy and pasted it a few times in a word doc, and printed it out. Lay a piece of wax paper over the template. If you don’t have wax paper, a plastic sandwich bag would also work!

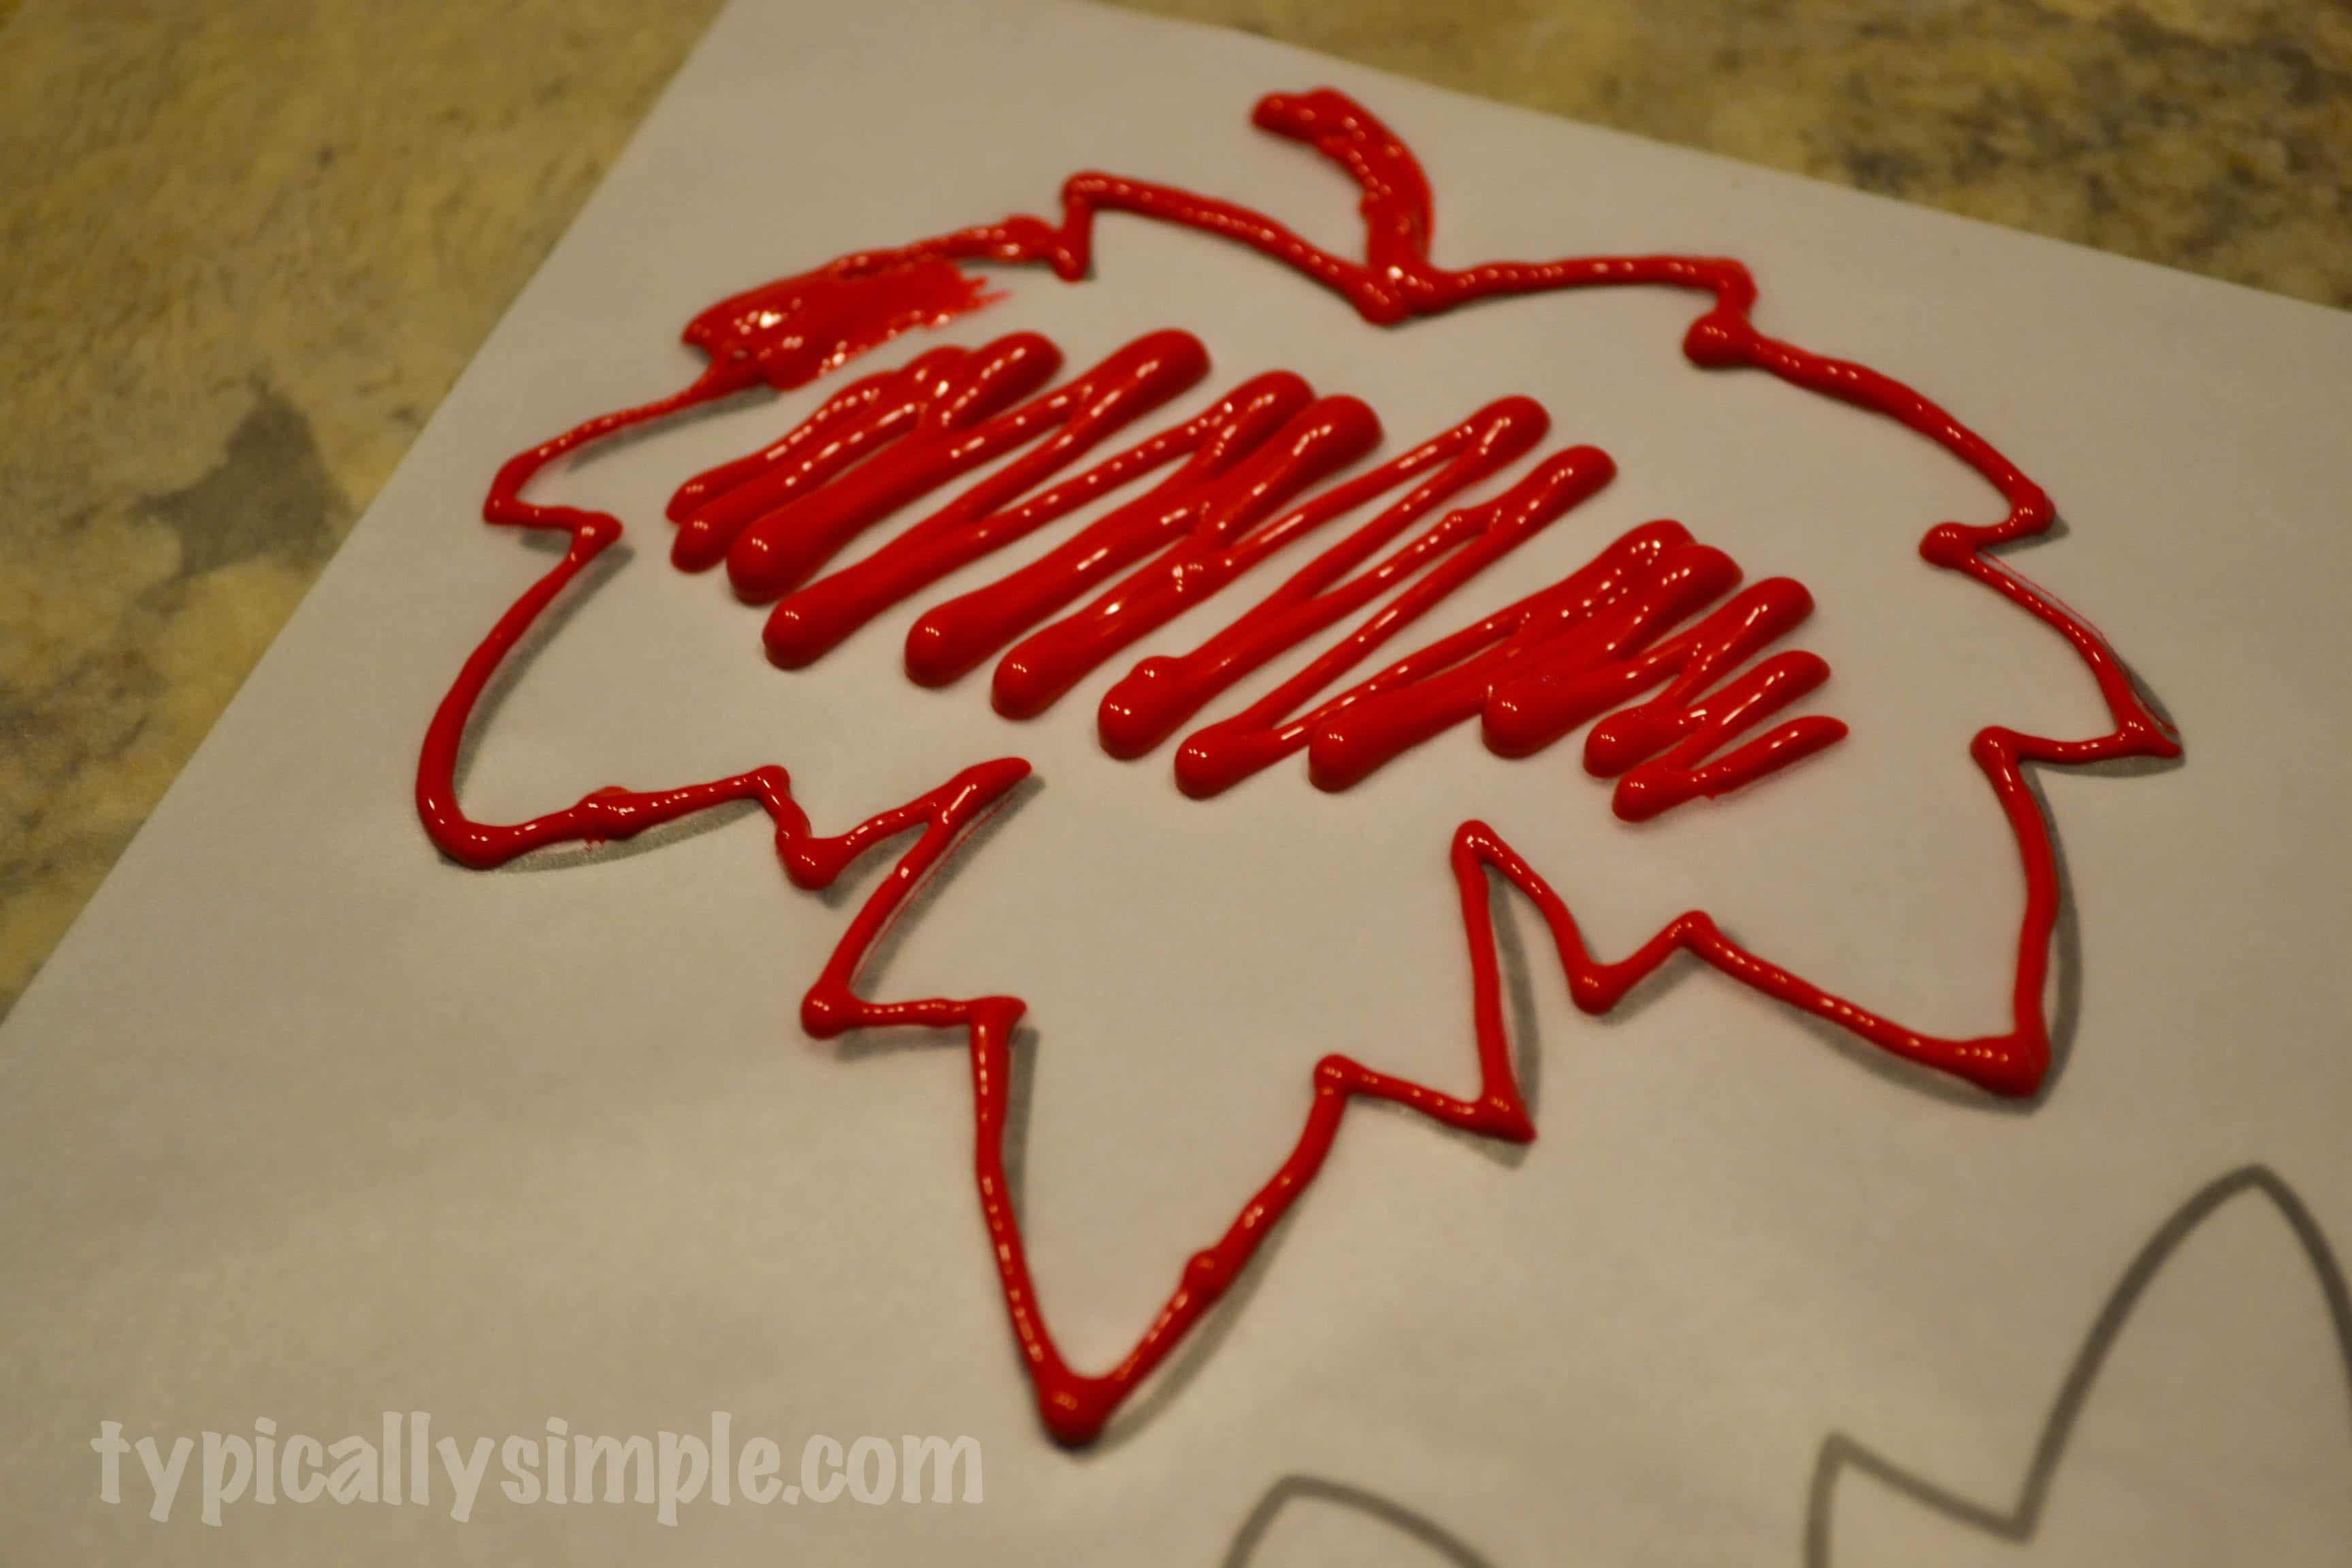
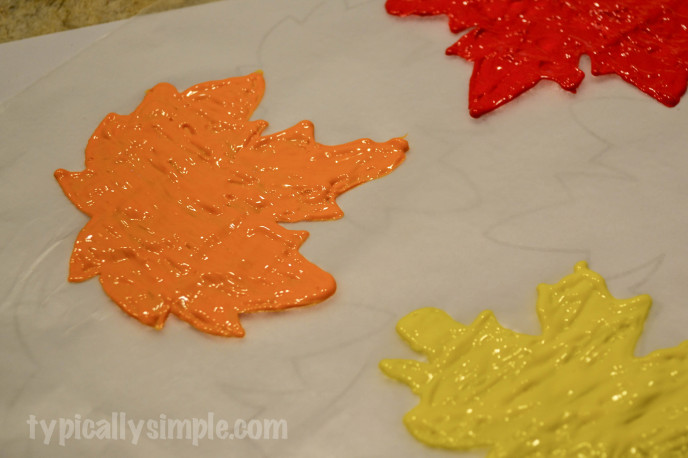
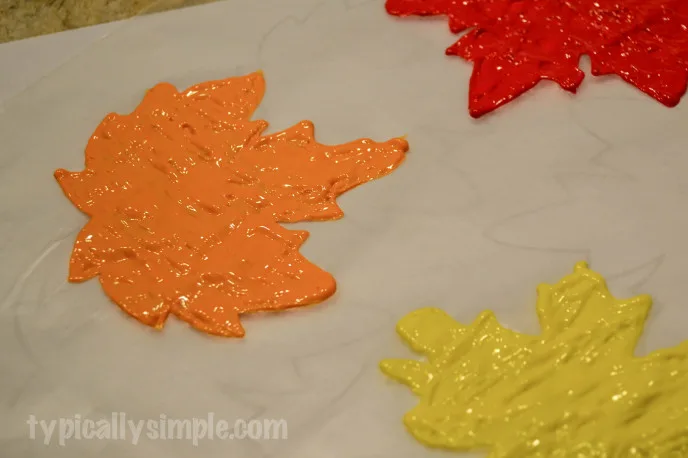
Using the puffy paint, I traced the outline of the leaf first then filled it in. I just used the tip of the puffy paint bottle to schmoosh the paint around, but I also found using a paint brush works pretty well if your little one has a hard time using the bottle to paint.
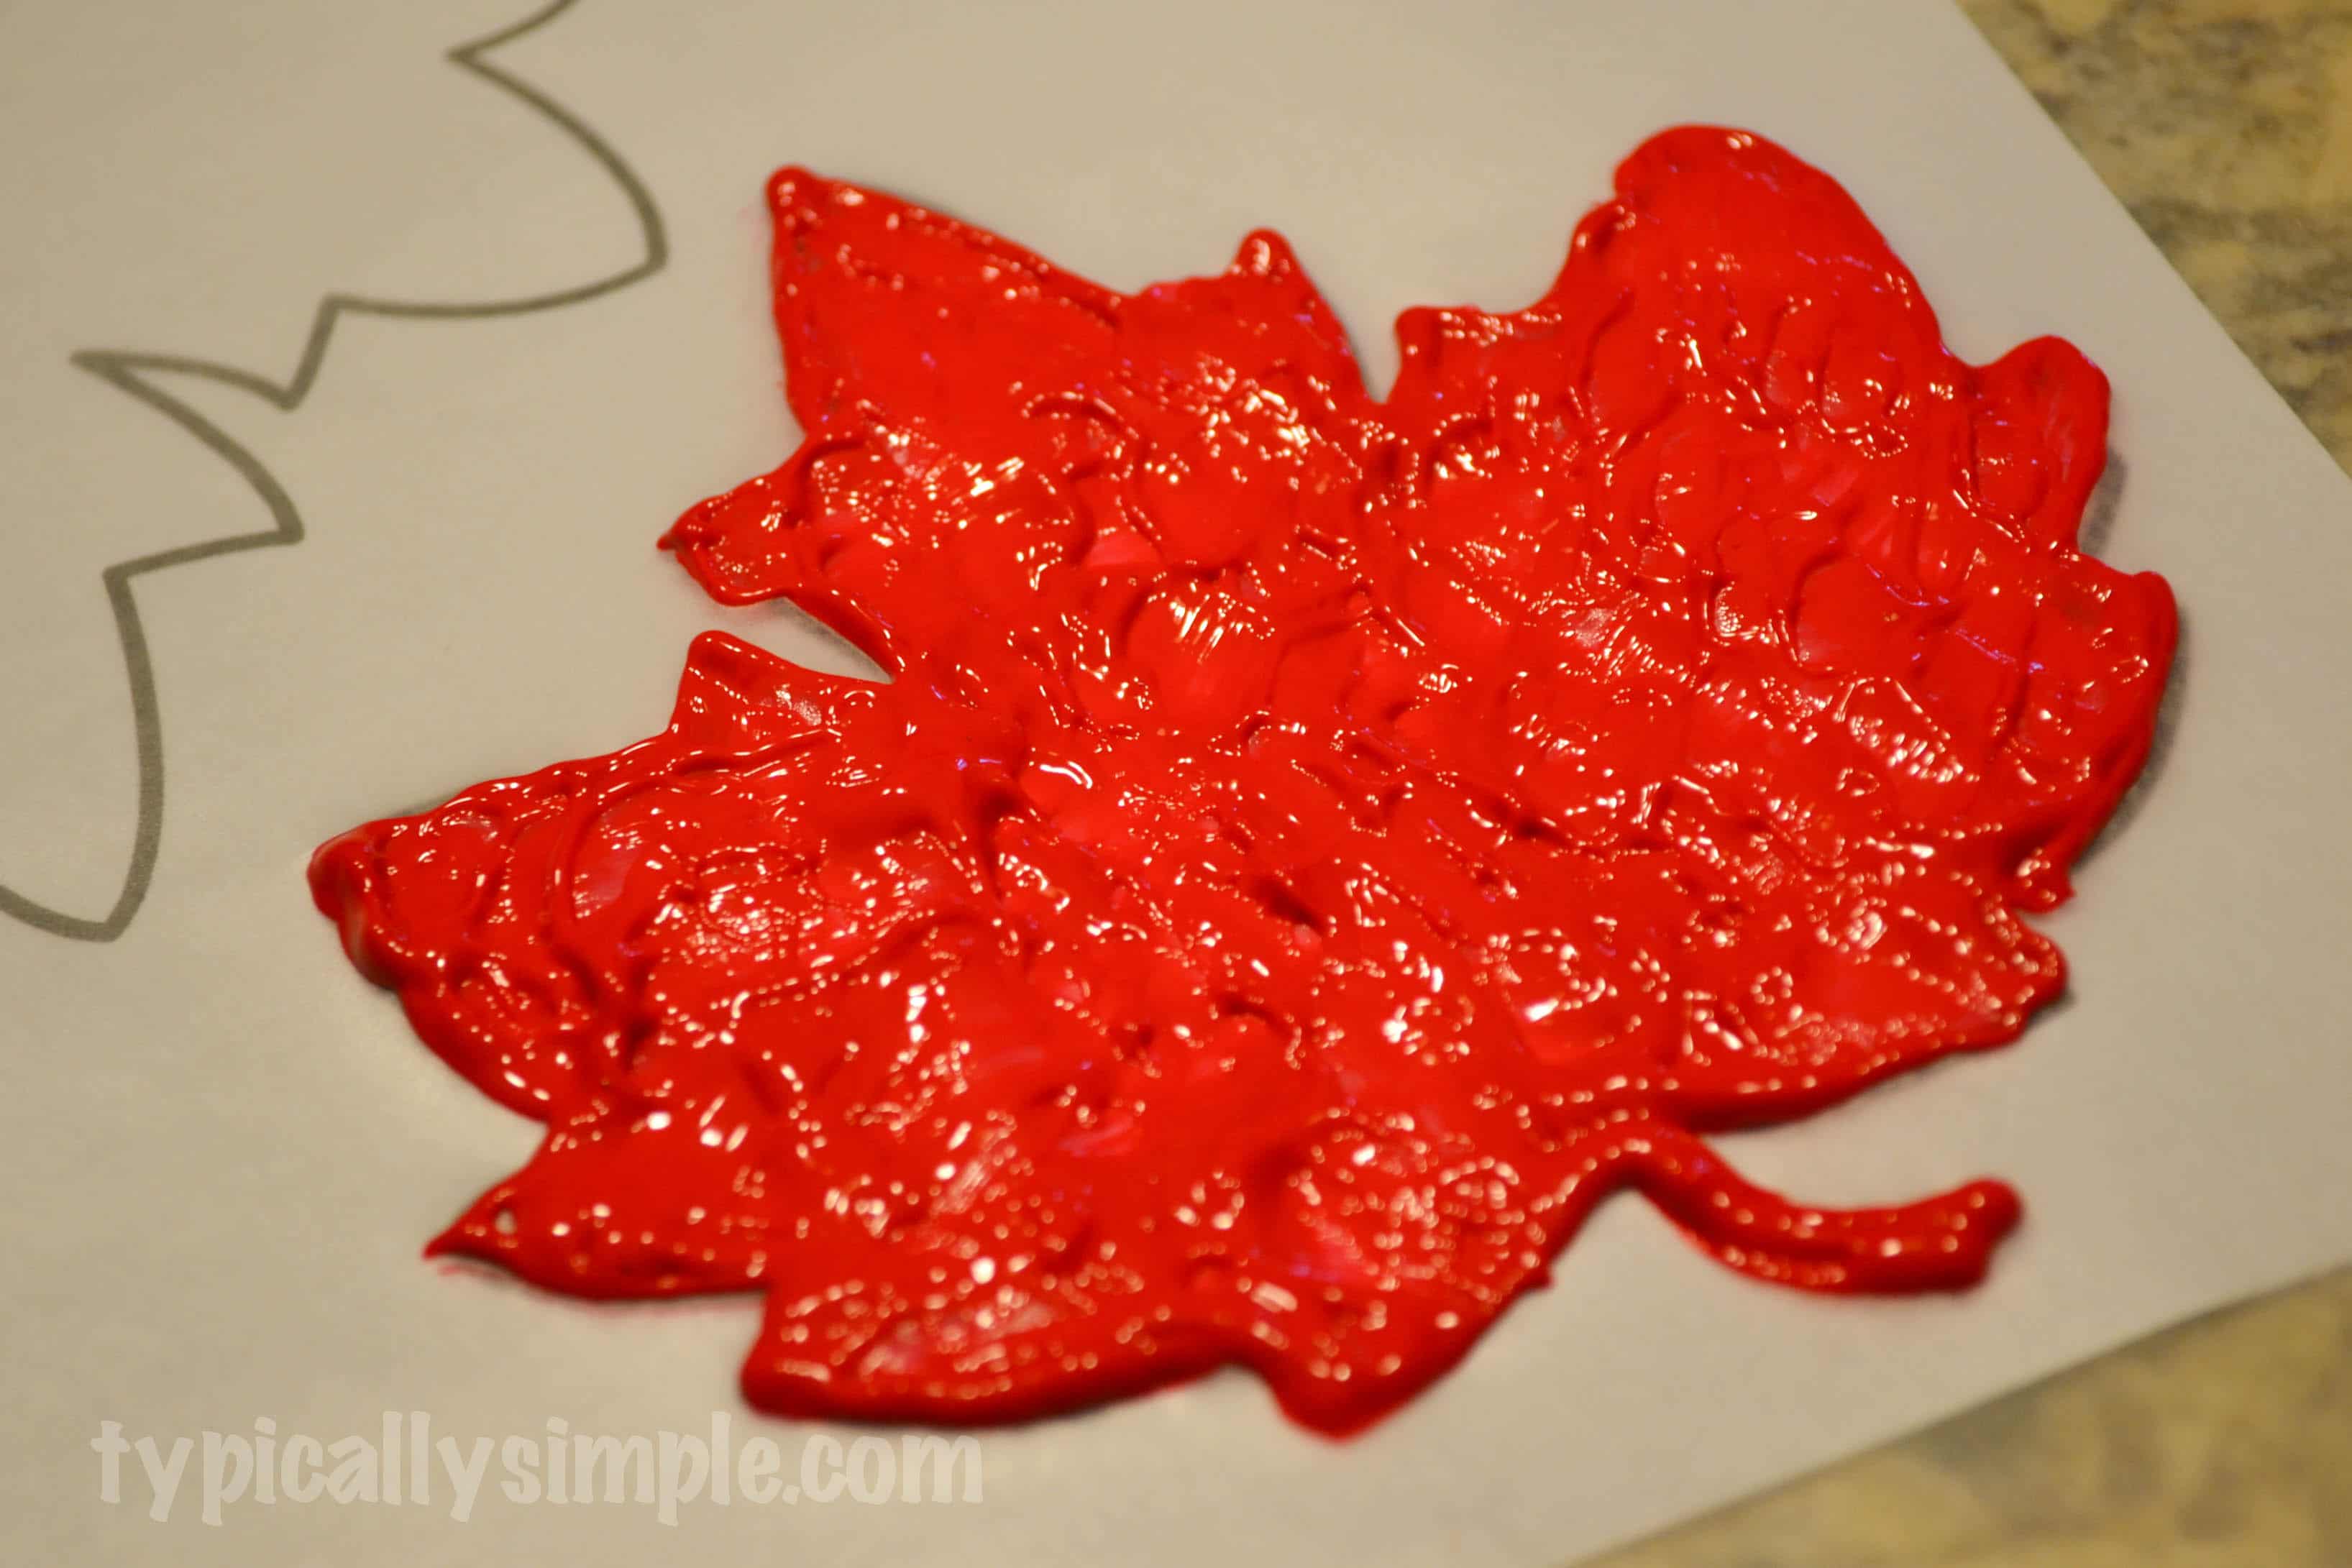 Put the painted wax paper in a safe place to dry overnight.
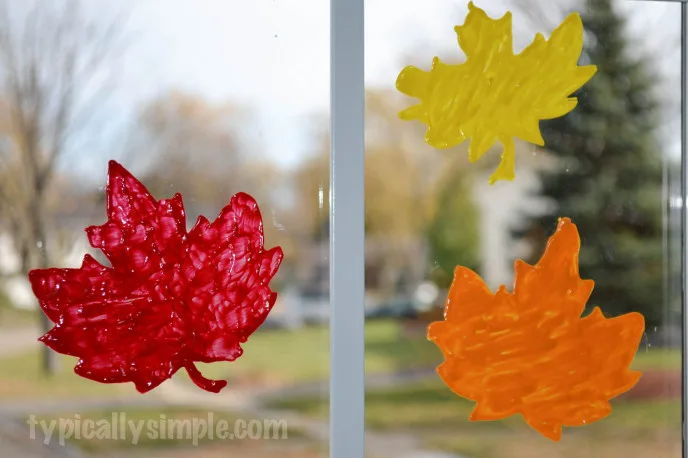
After the puffy paint has dried, the shapes can be pulled off the wax paper. I recommend this be done by an adult or older child. Depending on how large the shape is, it might need to be pulled off in sections or the paint starts to stretch out a little.
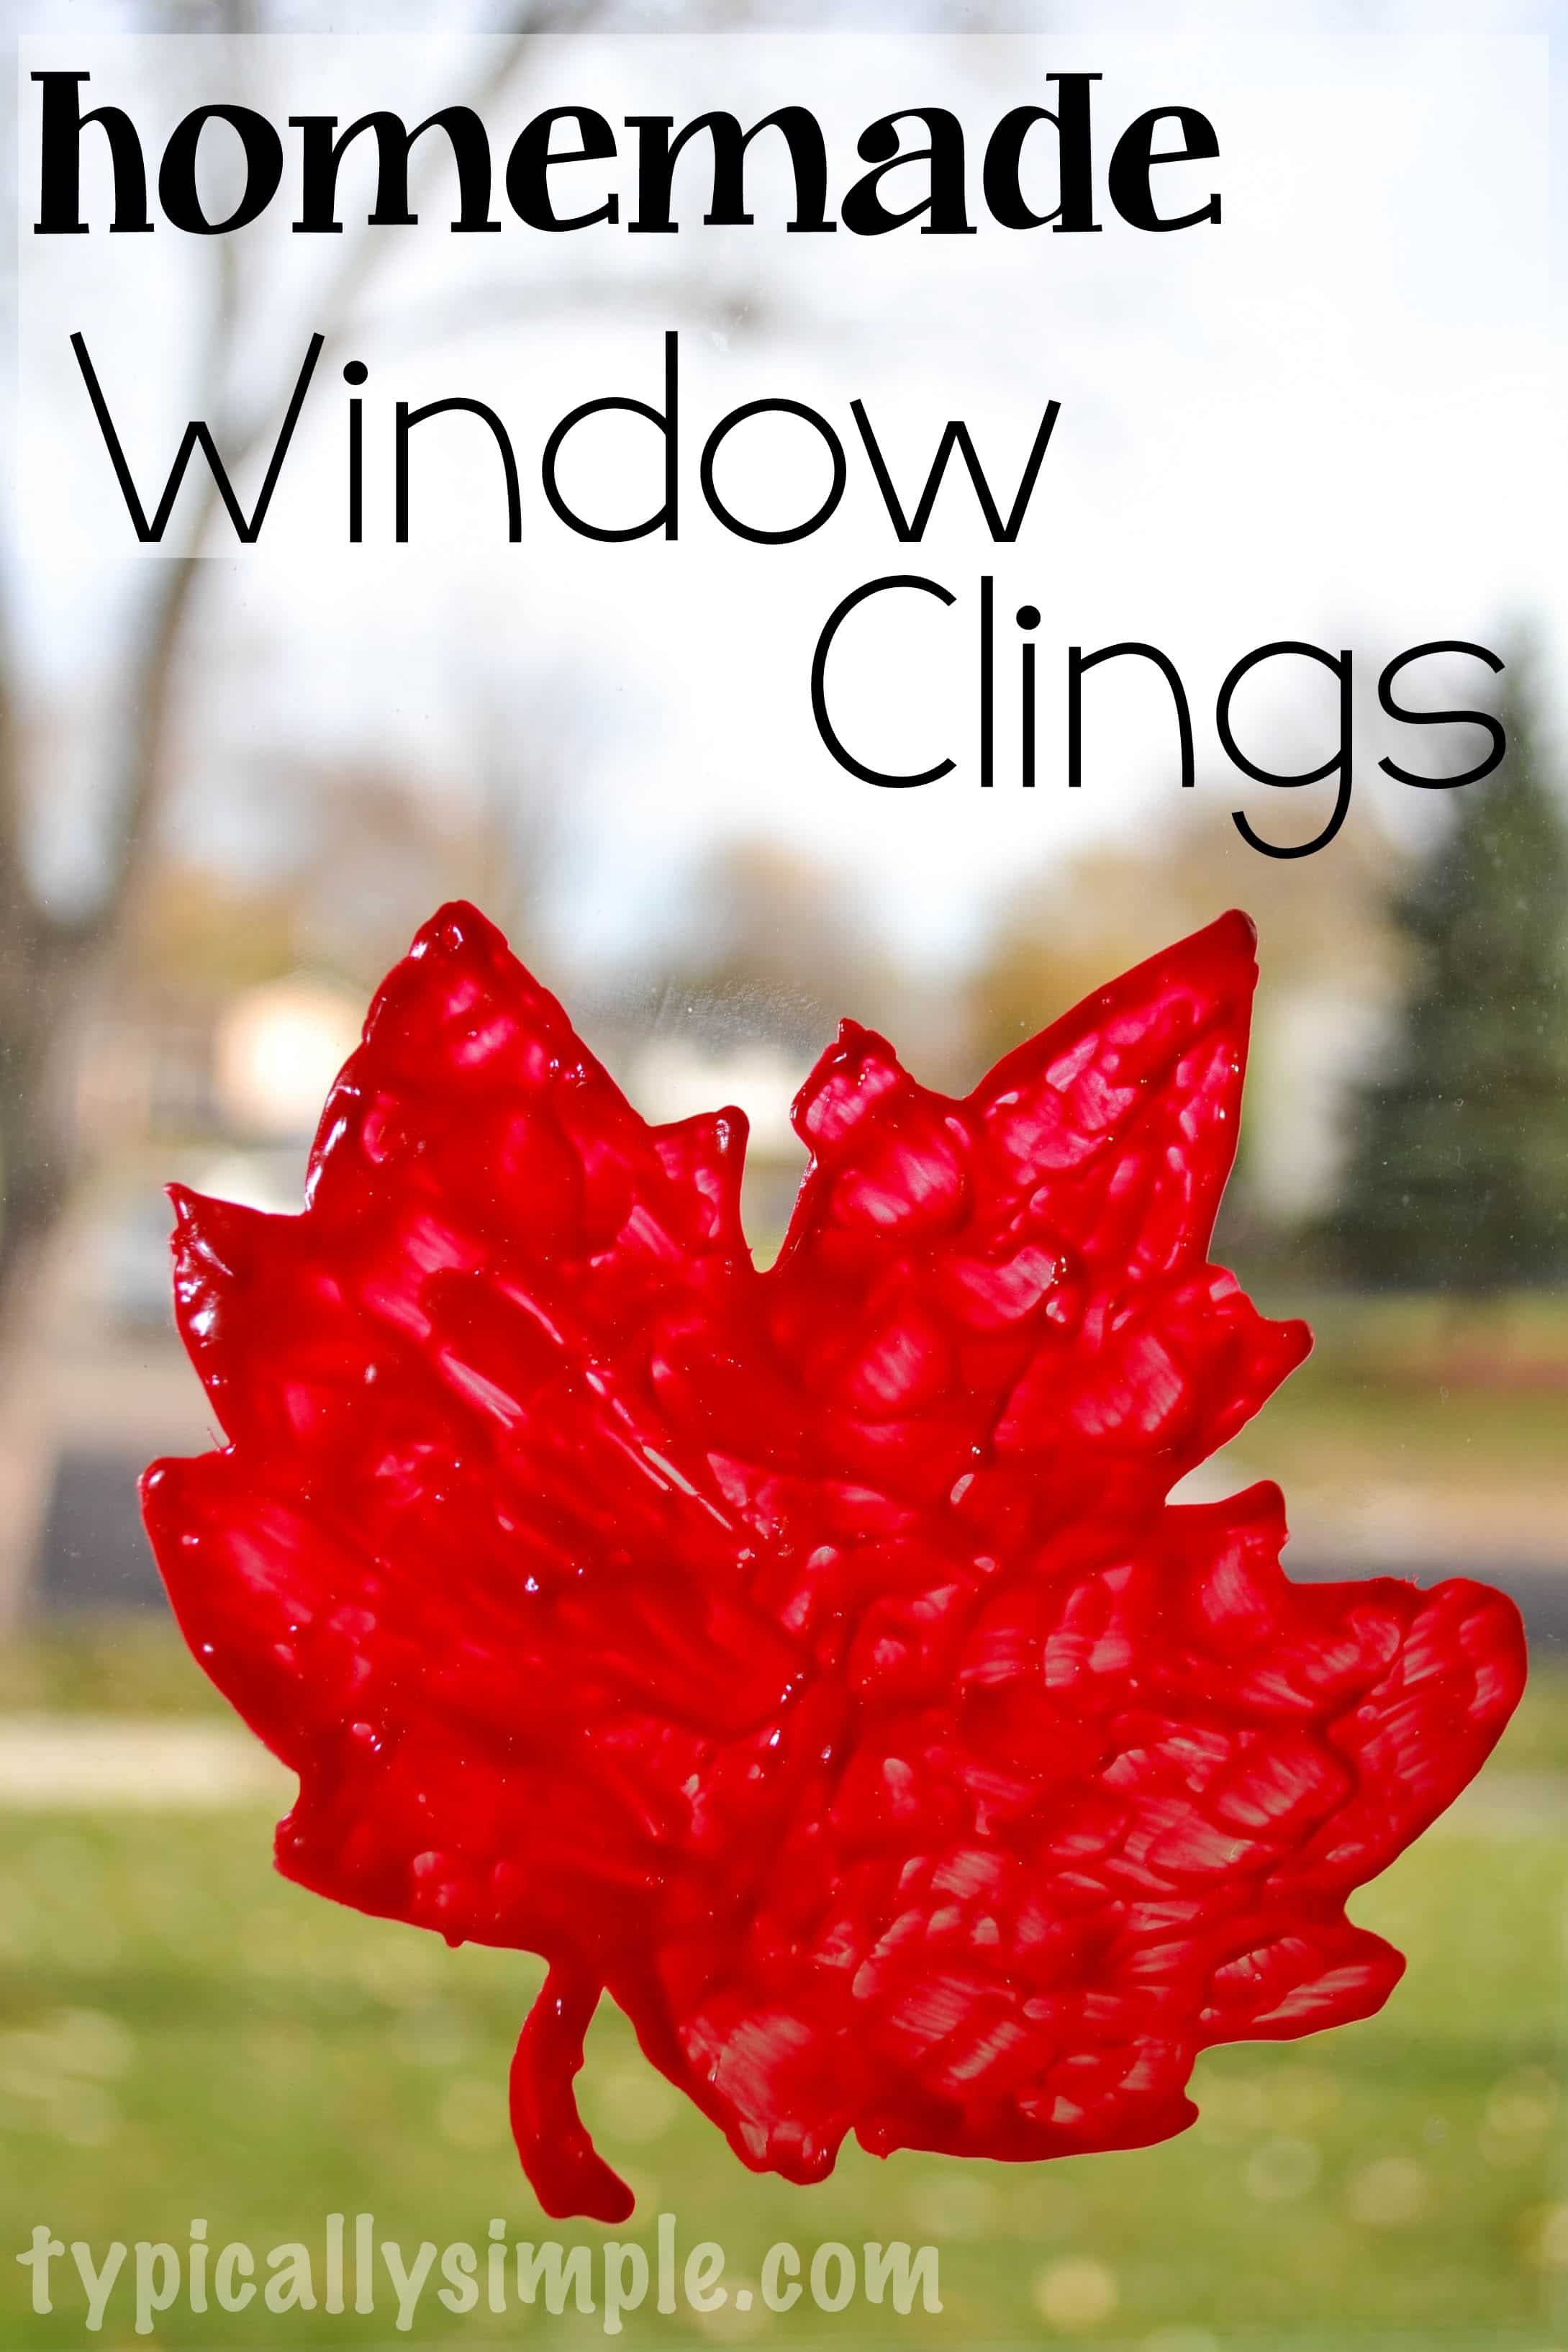
And now the leaves are ready to be stuck to the windows! These are so simple to make and would be great for any season or holiday.

 More simple and fun crafts for kids:
Paper Plate Candy Corn
Coffee Filter Butterflies
Tissue Paper Sun Catcher